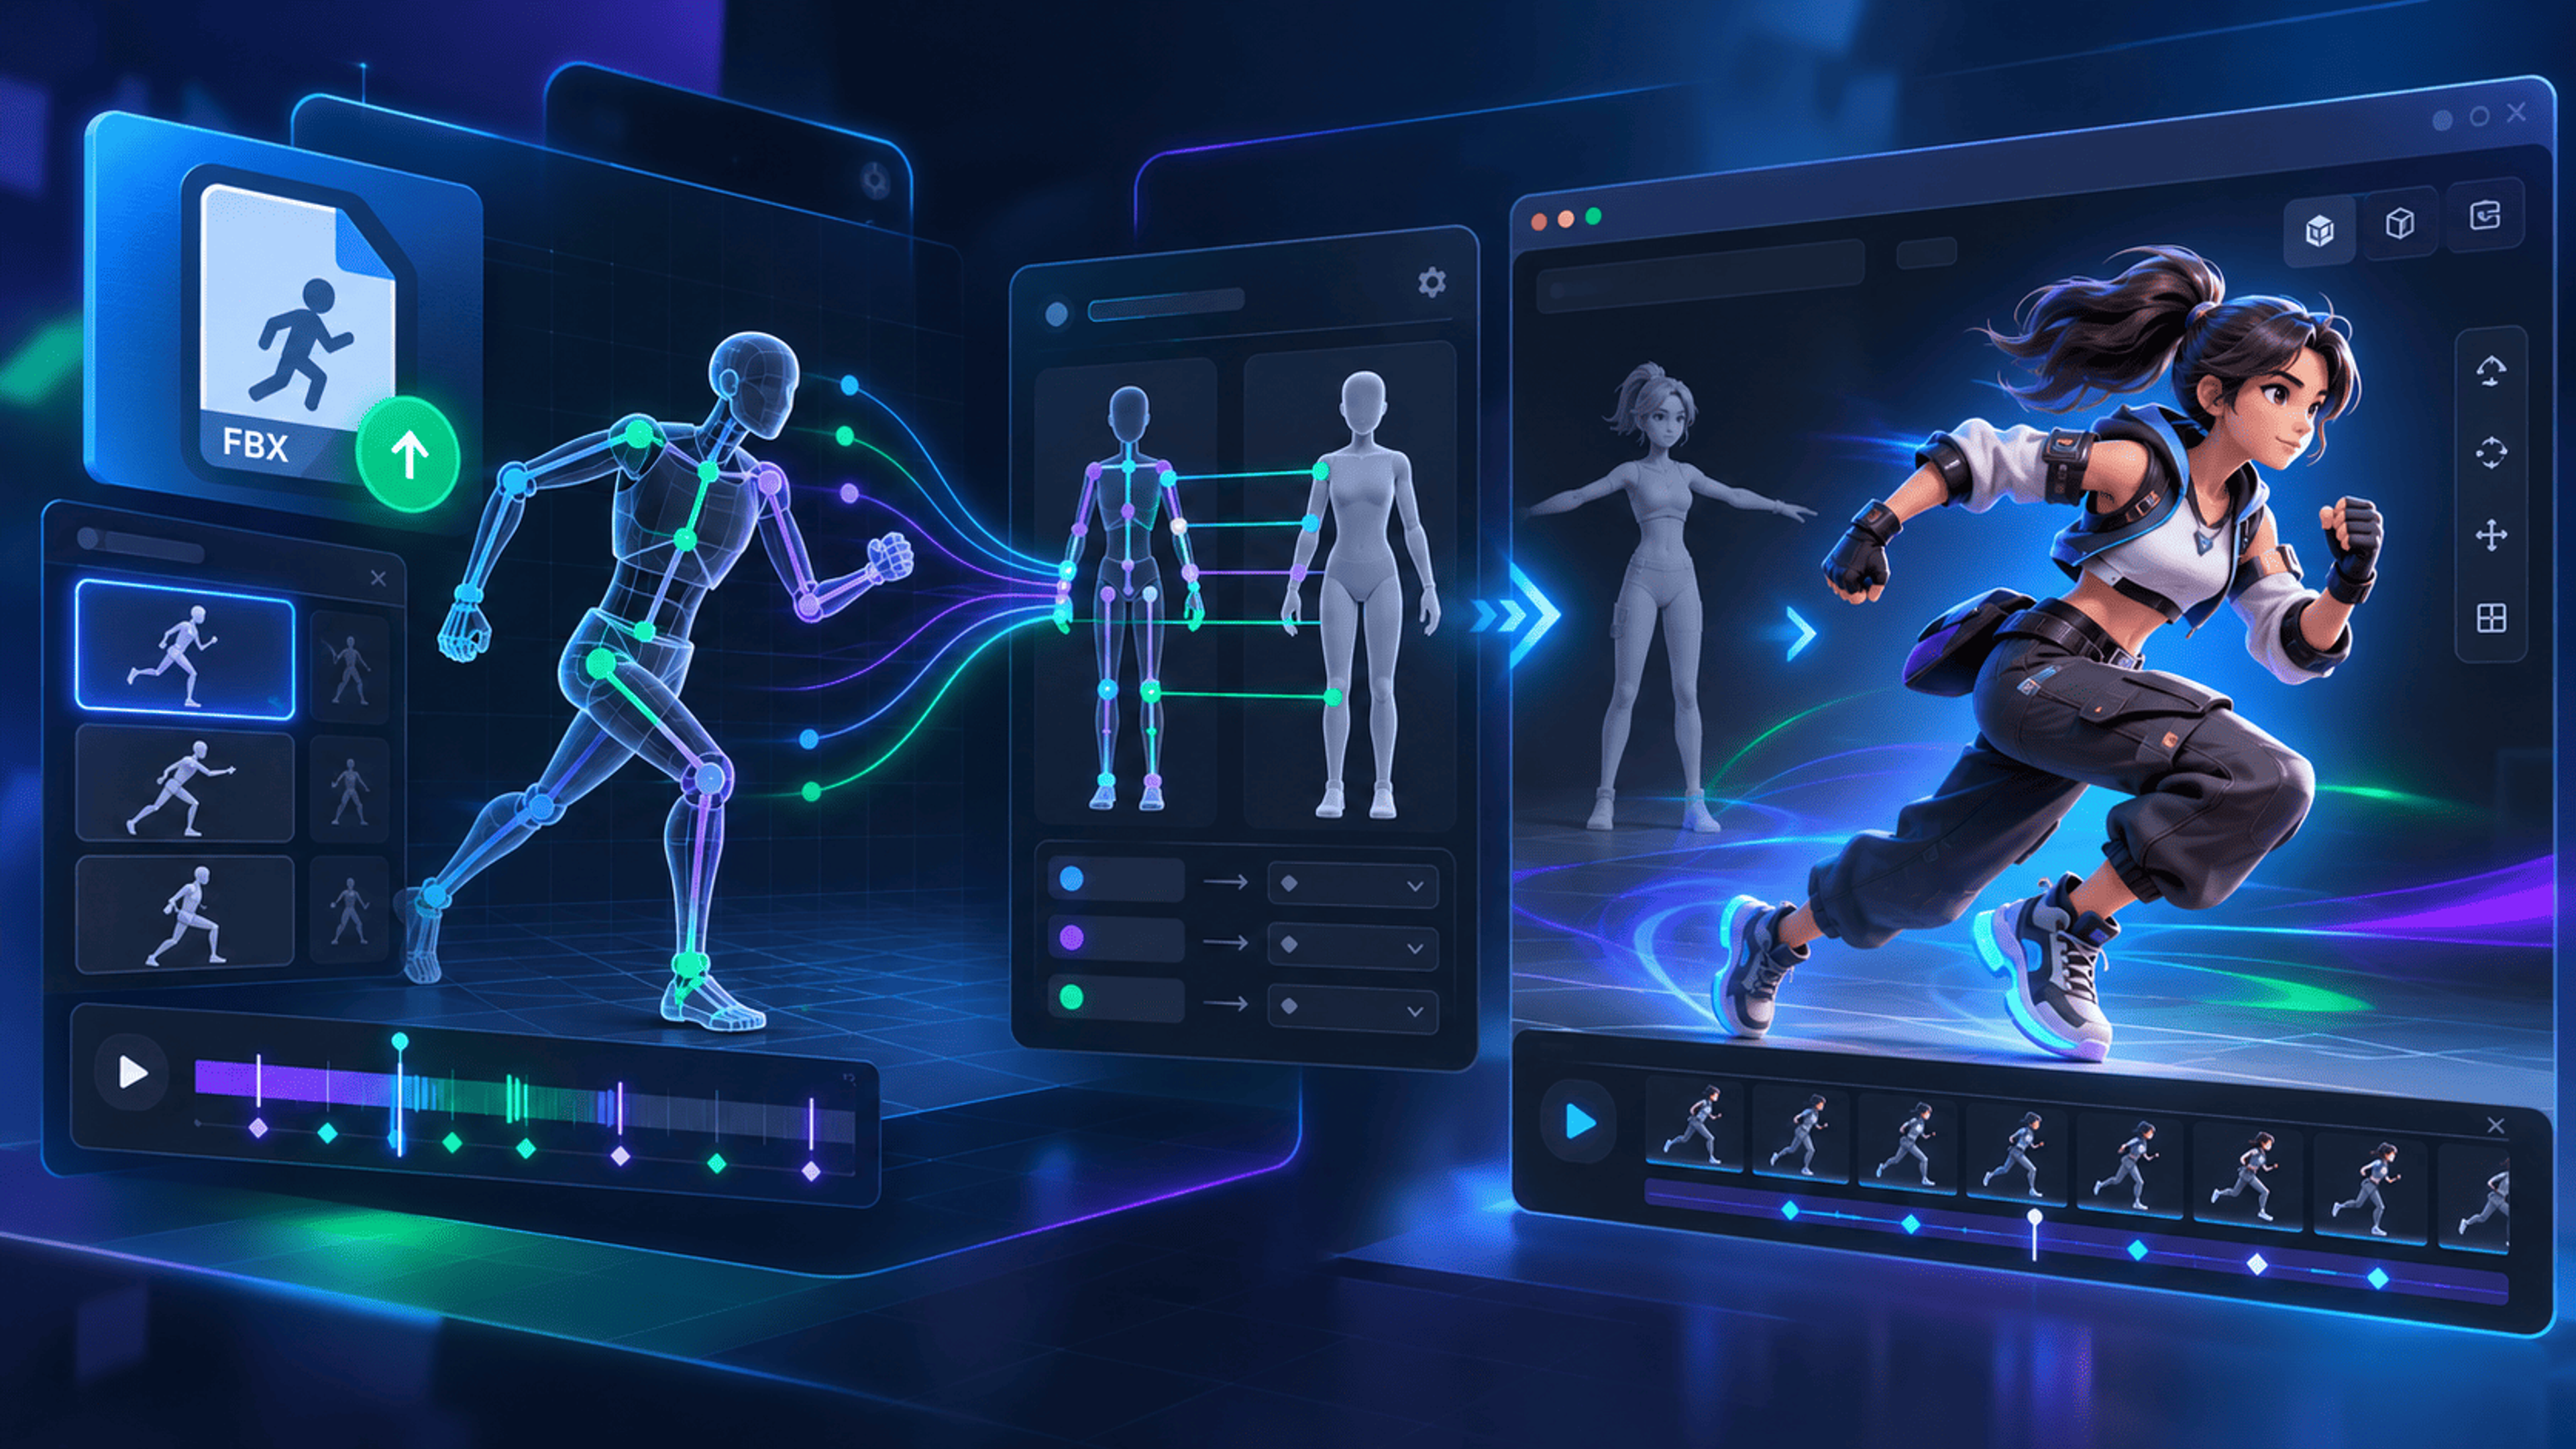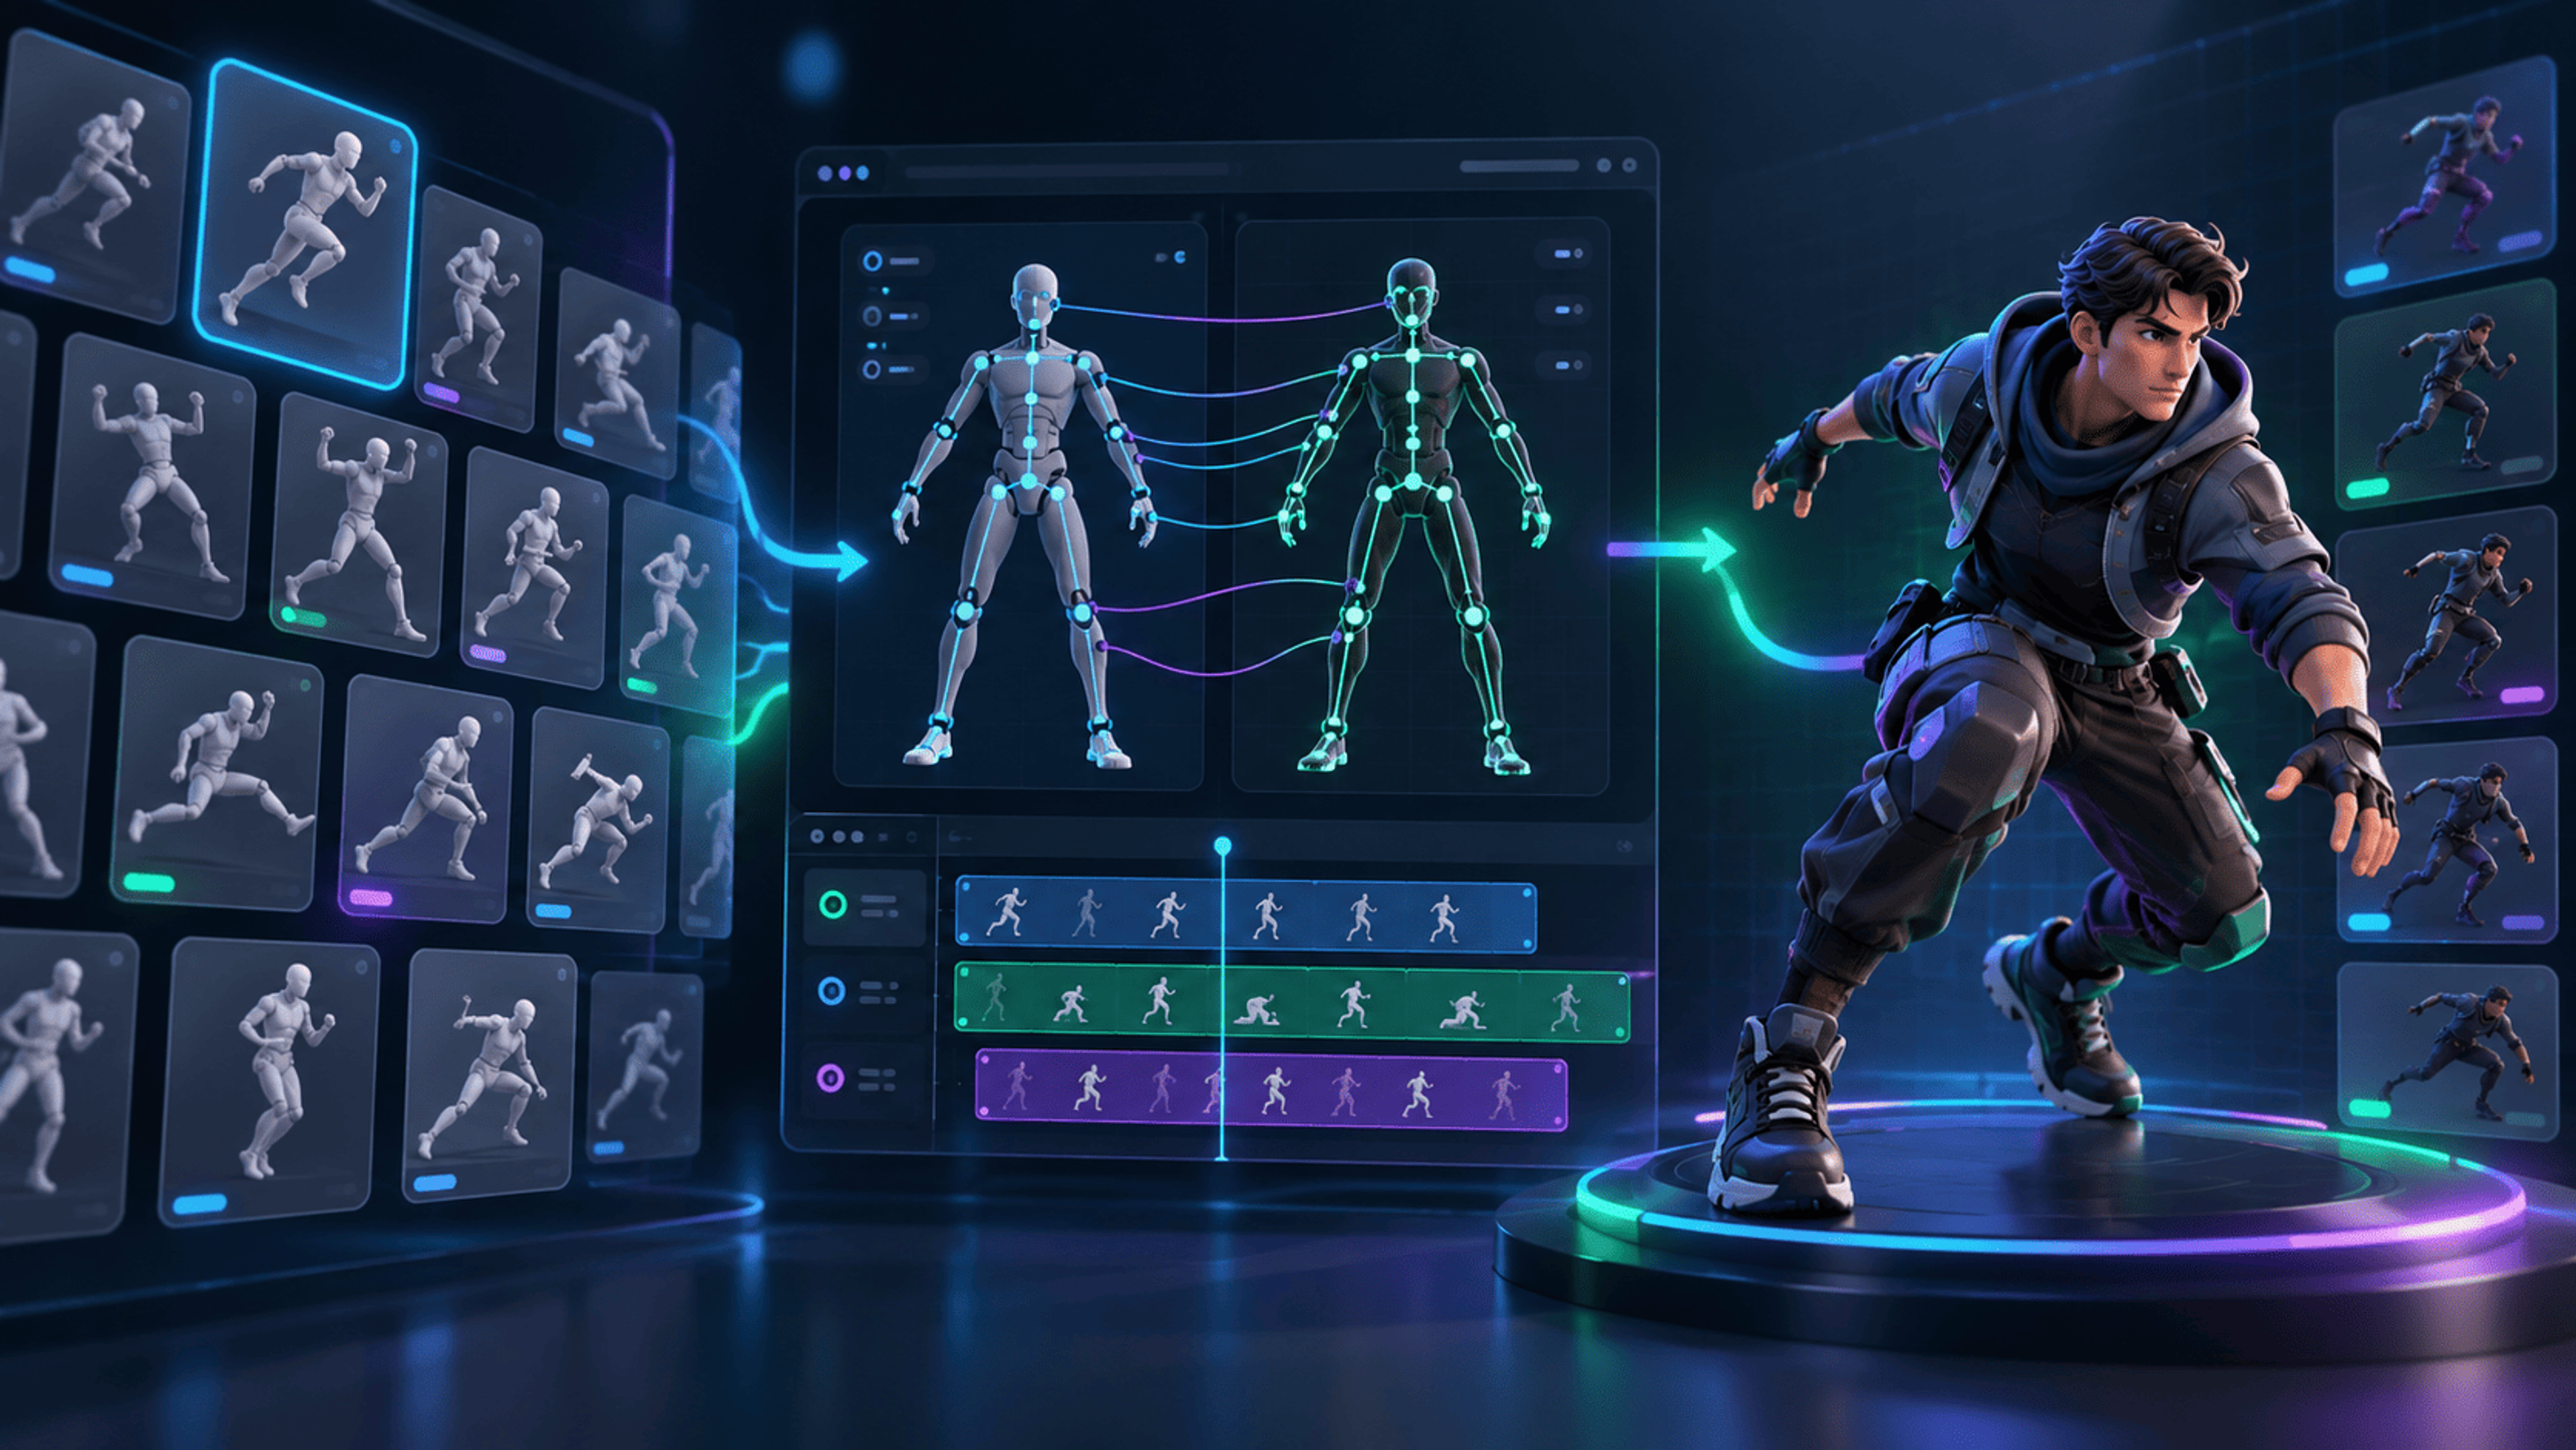
A character animation pack may include Idle, Walk, Run, Jump and several action clips. To use them on another character, the goal is not just to play each file separately; it is to produce a coherent set of movements for one destination rig. A shared retarget setup can reduce repeated mapping work, but every clip still needs its own playback and quality check.
This guide focuses on preparing the pack, checking the target, transferring clips, and reviewing an accepted export in the 3DLabTools Animation Tool.
1. Inventory the pack before importing
List the clips you actually need for the intended experience. For a small third-person character, start with Idle, Walk and Run; defer combat, prop interaction and extreme poses until the base motion set works.
Inspect the source asset's licenses and whether its clips share the same skeleton, orientation, frame rate assumptions, and coordinate conventions. Two files from the same marketplace listing are not necessarily interchangeable. A clip list only describes what was named; it does not prove that every file contains valid skeletal tracks.
Create a short acceptance checklist for the target character: correct orientation, no major mesh stretching, appropriate foot contact, and expected clip names/durations.
2. Import the target character and verify rig readiness
Open the Animation Tool and load the character you want to animate. Inspect the rig, especially skinned meshes, hierarchy and semantic joint roles. An existing usable rig is the preferred starting point. If the target lacks skinning, retargeting is not a substitute for rigging.
Use a neutral pose to understand how the target skeleton is oriented. An apparently similar humanoid can have very different rest poses and joint directions, which can show up as twisted hands or bent knees later.
3. Choose the pack and build a shared mapping
Choose an available published pack in the pack browser; this public workspace does not upload arbitrary FBX packs. Begin with one short clip. Click its card to preview, and check its selection box to include it for processing. Inspect the source skeleton and proposed source-to-target roles. If important correspondence is wrong, choose another compatible combination or fix the source rig in an authoring tool.
A shared mapping is useful for clips authored against the same source skeleton. If one clip comes from a different skeleton, treat that as a compatibility change rather than assuming the same setup will work automatically.
4. Validate a base locomotion sequence
Select the needed base motions, then use Generate Retarget and review each result on the actual destination mesh. Look for steady posture, natural arm movement, plausible leg bending and consistent forward direction.
Compare whether Walk and Run are in-place or contain root translation. The clips may be individually valid but not interchangeable in a game locomotion system. If your target engine expects in-place clips, confirm that the exported motion matches that convention before building a blend tree.
5. Review the remaining clips individually
A shared setup should not be interpreted as a blanket quality approval. Scrub Jump, Crouch, Attack and other extreme motions independently, especially where the source contains strong spine rotation, contacts, or hand poses.
If a clip fails the tool's validation, investigate that result. Do not silently mark it accepted or export a failed candidate as if it were production-ready. Some source motions may require a better rig, changed mapping, another export or authoring work outside the browser.
6. Export, re-import and keep a manifest
Use Apply Selected for generated results. Results marked REVIEW require explicit review confirmation and Accept & Apply; FAIL results cannot apply. Export includes only final selected, applied and accepted animations in one character GLB with mesh, materials, skin and skeleton. Check the included clip set rather than assuming every source motion has been added.
Re-import the result into your destination tool and test every clip by name. Keep a simple manifest of source pack, target character, included clips, excluded/failed clips and export date. That gives you an audit trail if a locomotion transition misbehaves later.
A three-clip review example
As an illustrative state walkthrough, suppose Idle is Ready, Walk needs Review and Attack is Failed. Applying the selection must not turn Attack into an exportable animation. Idle can apply; Walk requires its review confirmation before it can join the export. The included set can contain Idle and the explicitly accepted Walk, while Attack remains excluded. These names illustrate the gates; they are not claimed outcomes for a particular published pack.
Common questions
Can I use a pack with any GLB character? No. Rig usability, anatomy, mapping, supported tracks and clip quality all matter.
If Idle succeeds, will Attack succeed? Not necessarily. Attack clips may stress the arms, shoulders, hands and spine in ways an idle never does.
Will it attach a sword or other prop? No automatic prop attachment should be assumed. A weapon animation and a weapon asset are separate production concerns.
Should I export every clip immediately? Export only reviewed, accepted clips. Keep the source set so you can revisit failures later.
Next step: Open the Animation Tool with a licensed pack and a known-good character, and validate Idle/Walk/Run before expanding the set. For format decisions, read GLB vs glTF vs FBX.
Verification note: checked on October 20, 2026 against V1 source and a private catalog of three original diagnostic FBX motions authored on one source rig. After per-clip review and explicit confirmation, the downloaded character GLB contained all three selected, applied clips and reopened in Viewer. Numeric round-trip checks sampled every skinned vertex. These mild motions and a rigid procedural body do not certify organic deformation, other packs or external engines. Differently structured source files can fail identity checks even when their joint names look alike; do not override that failure.
Explore product documentation or open the Animation Tool.