

A saved model can be made public for a review link or iframe embed. This guide uses the current Dashboard sharing controls and public Share View. It does not create an access-restricted review group or collaborative editing session.
Start with a saved model you own. Inspect its appearance before changing visibility, and keep anything confidential private.
1. Open the saved model's sharing controls
Open the model in your Dashboard and use its sharing action. Check the displayed visibility state. A private model is not available through the public share and embed endpoints.
If the asset is not saved yet, follow Upload and Save a 3D Model first.
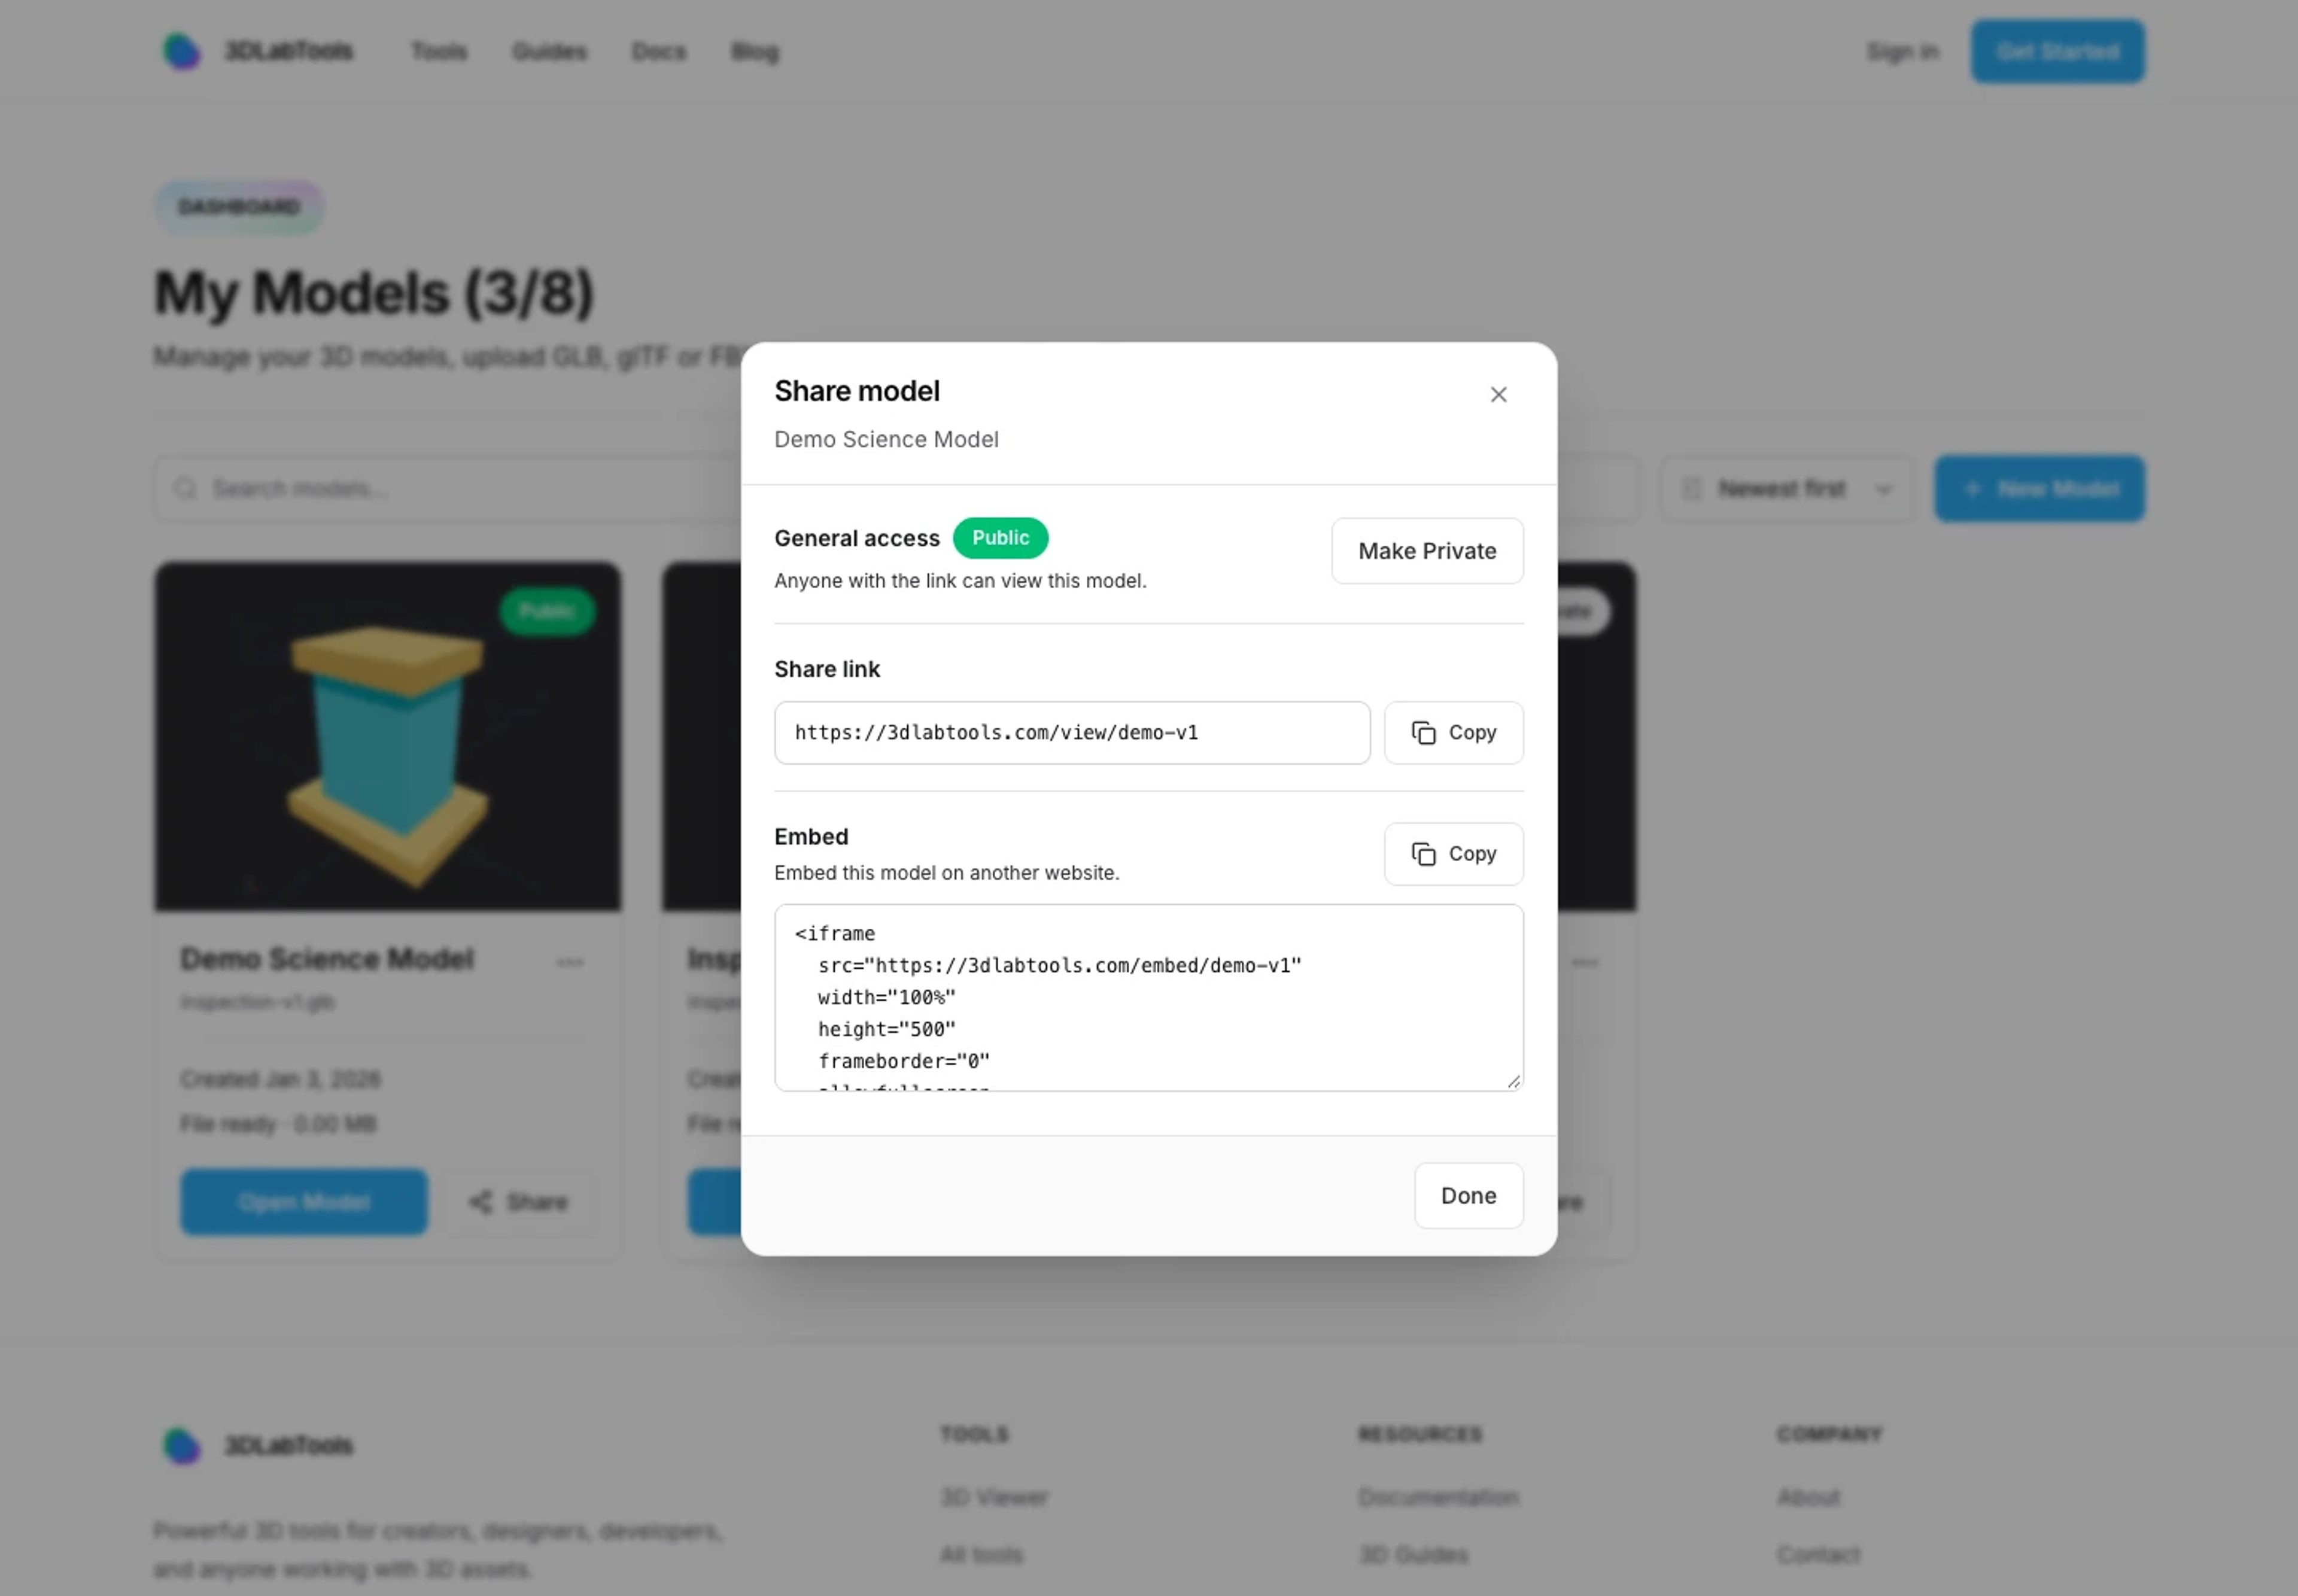
Review visibility before copying a share link or embed code. 2. Make the model public deliberately
Choose Make Public when you are ready for public access. Anyone with access to the public URL can view the model. A difficult-to-guess URL is not a substitute for private access controls.
Check your Profile Settings if you want to complete the display name, username, bio, or avatar used for public creator context. Public attribution does not display your private email or authentication information.
3. Copy and test the share link
Copy the share link from the sharing dialog, then open it while signed out or in a separate private browser session. The public page shows the model viewport, available model information, and creator/profile attribution.
Share View also offers Copy link and Copy embed actions. Confirm that the title and intended model are correct before sending the URL. Use the sharing article for a review checklist.
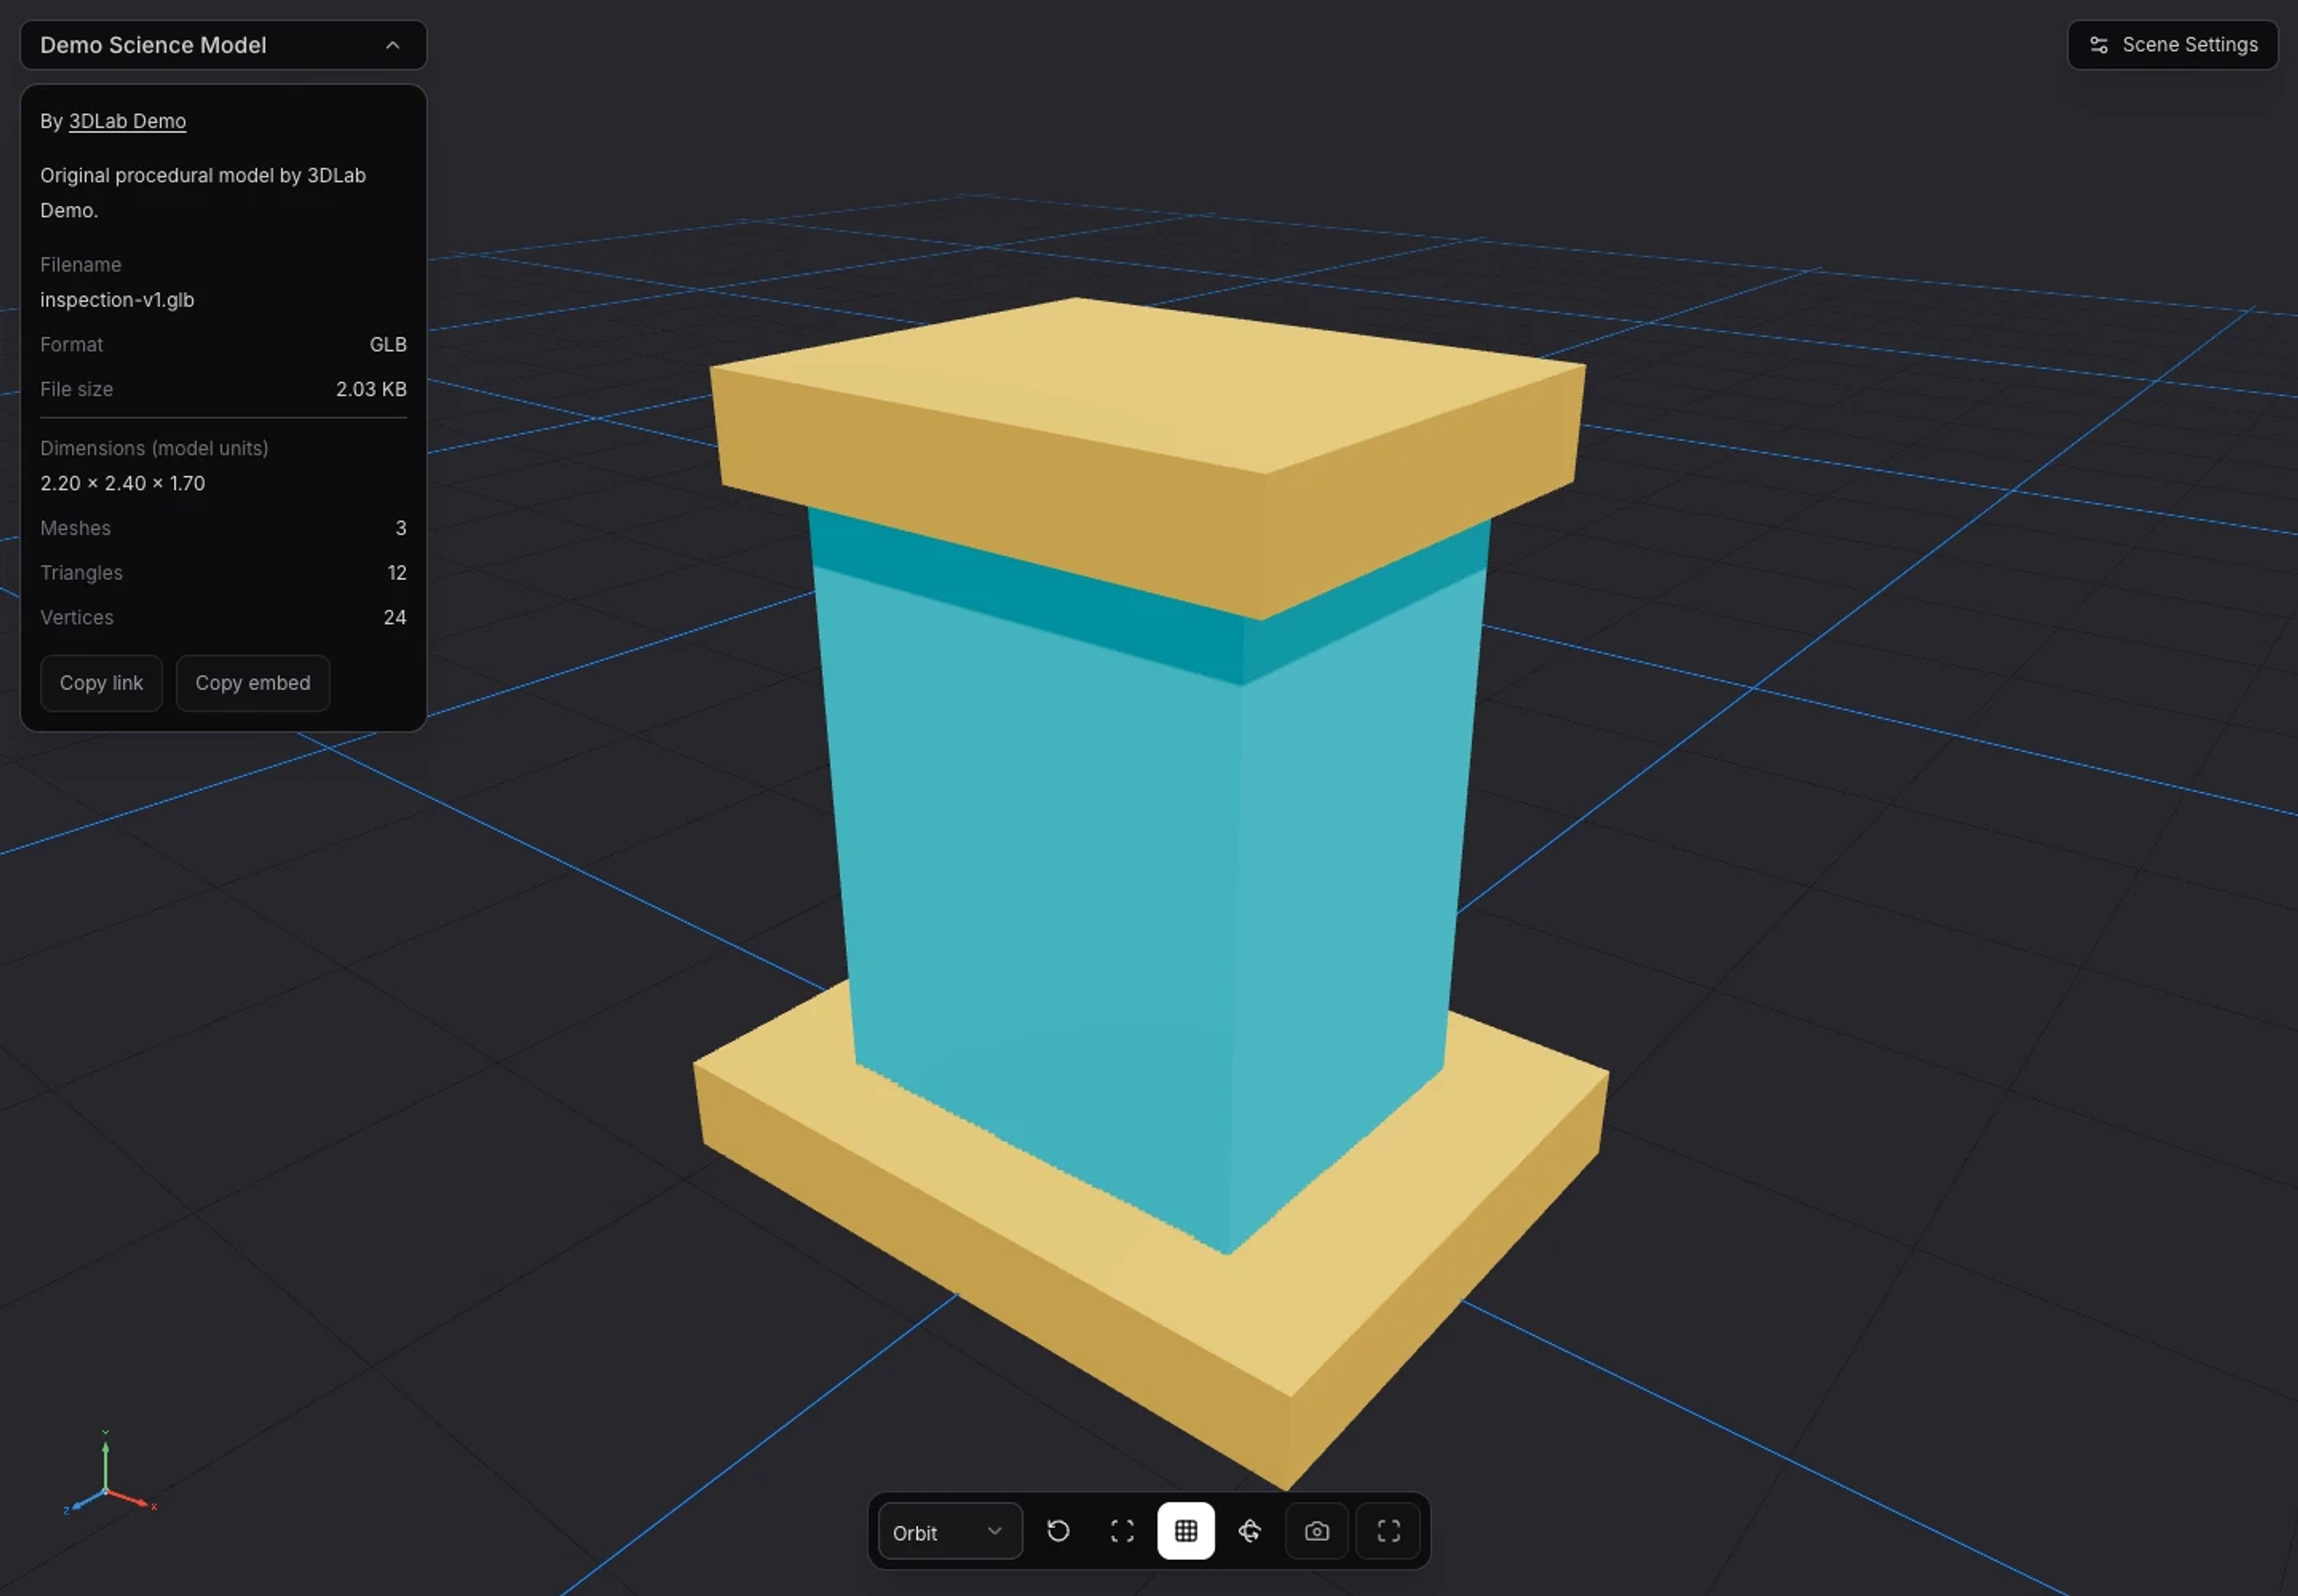
A public share page gives reviewers a common model view. 4. Check the read-only review controls
Use Orbit, Fit Model, and the other available viewport controls to inspect the scene. If annotations exist, test their read-only hotspots and visibility toggle. Navigation and presentation settings are available where the scene and device support them.
Visitors do not receive annotation editing, material editing, or model save/replace/delete controls. Share View is a viewing surface, not the owner’s editor.
5. Copy the iframe embed into a website
Copy embed to obtain the iframe markup. Paste it into a website or content system that permits iframes. Give the iframe a useful title, set a usable height, and test the host page at desktop and mobile widths.
Share View is the full public review page. The embed route is a viewport-focused presentation inside your page, so the surrounding Share View information panel is not a promise about the iframe layout. Follow Share & Embed documentation if the host site blocks or hides the frame.
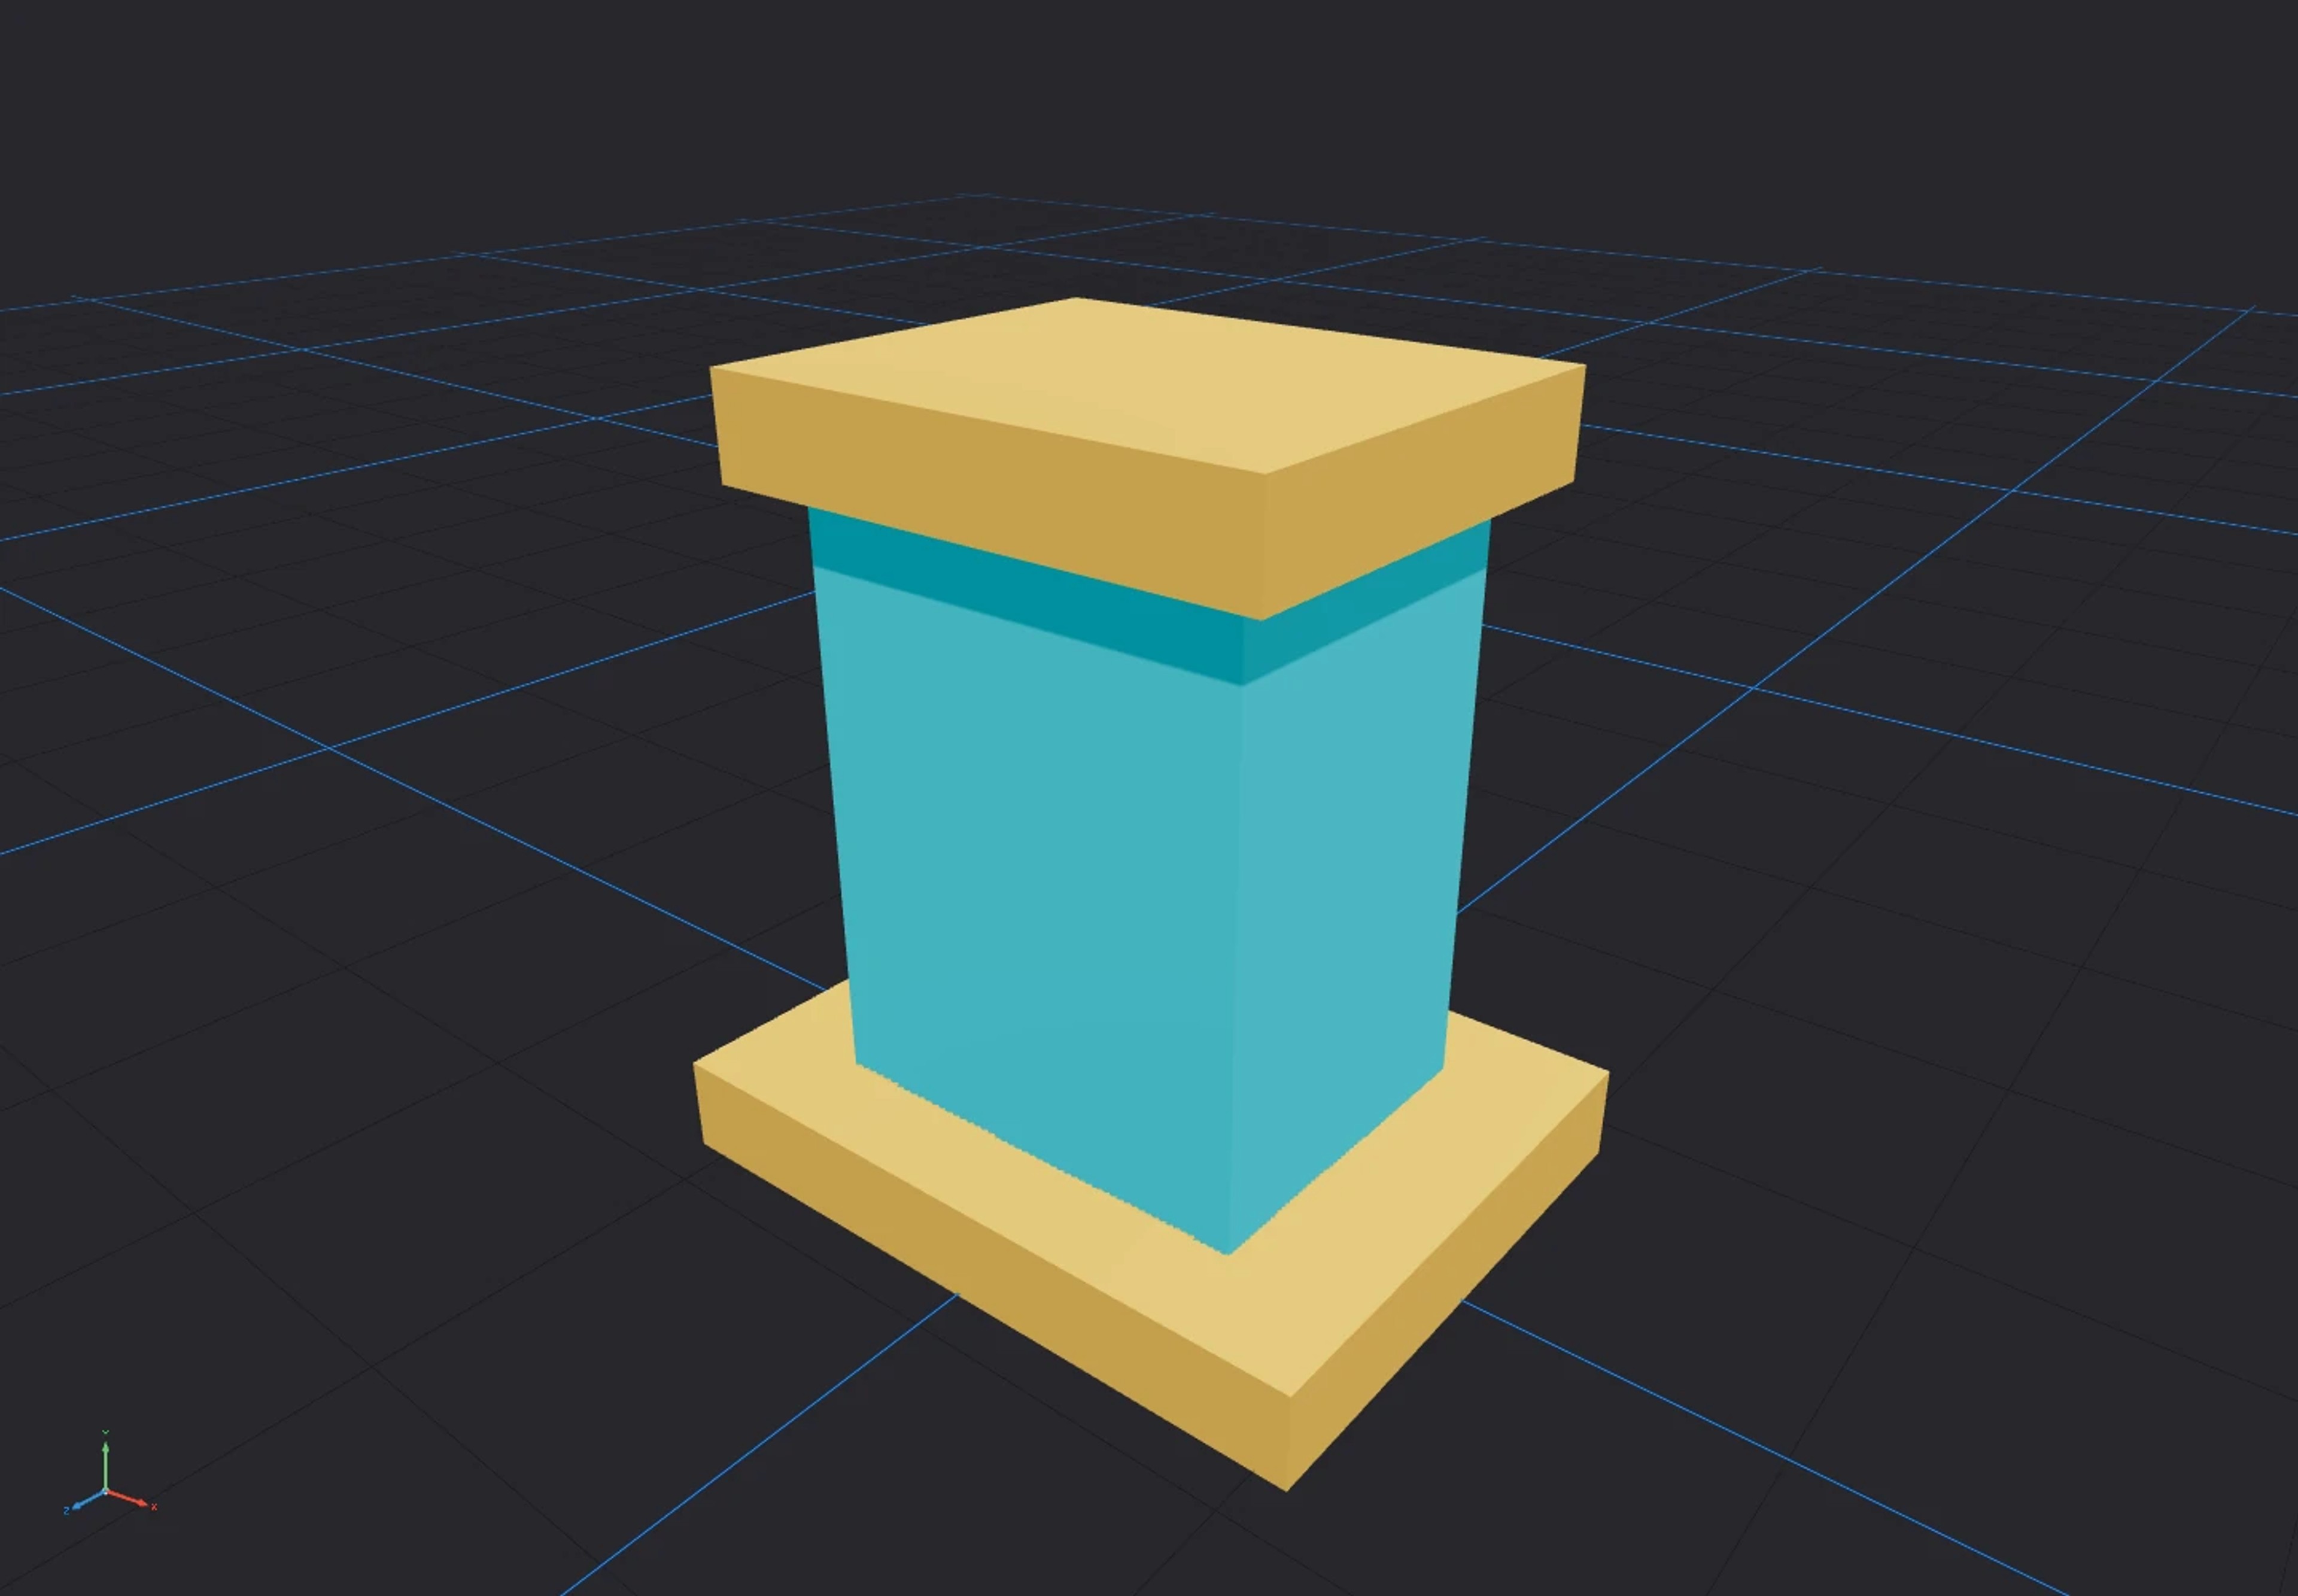
The embedded viewer presents the model without Dashboard controls. 6. Recheck visibility and revoke public access when needed
Use Make Private in the model's sharing controls to stop future public share and embed access. Test the link again in a fresh, signed-out session. A viewport that has already loaded, a screenshot, or previously downloaded model data cannot be recalled by changing visibility.
If you replace the model source, check the public view and any annotations again. For a more precise review, continue with Add Annotations to a 3D Model.
Explore product documentation or open the 3D Viewer.