
Saving a model creates a persistent Dashboard asset that you can reopen, replace, and share. You need an account for this workflow; inspecting a local model in the Viewer is a separate task.
V1 allows 8 saved models per user and a maximum of 100 MB per model, measured as 100,000,000 bytes. Accepted inputs are GLB, glTF, and FBX. The saved canonical format is GLB, so the prepared GLB must also fit the size limit.
1. Sign in and check the available model slots
Sign in, then open My Models in the Dashboard. Check the model count before starting an upload. If all 8 slots are used, replace an existing model when you are updating the same asset, or remove an asset you no longer need.
Keep an original copy in your own project storage. A saved review model is not a substitute for the editable authoring project.
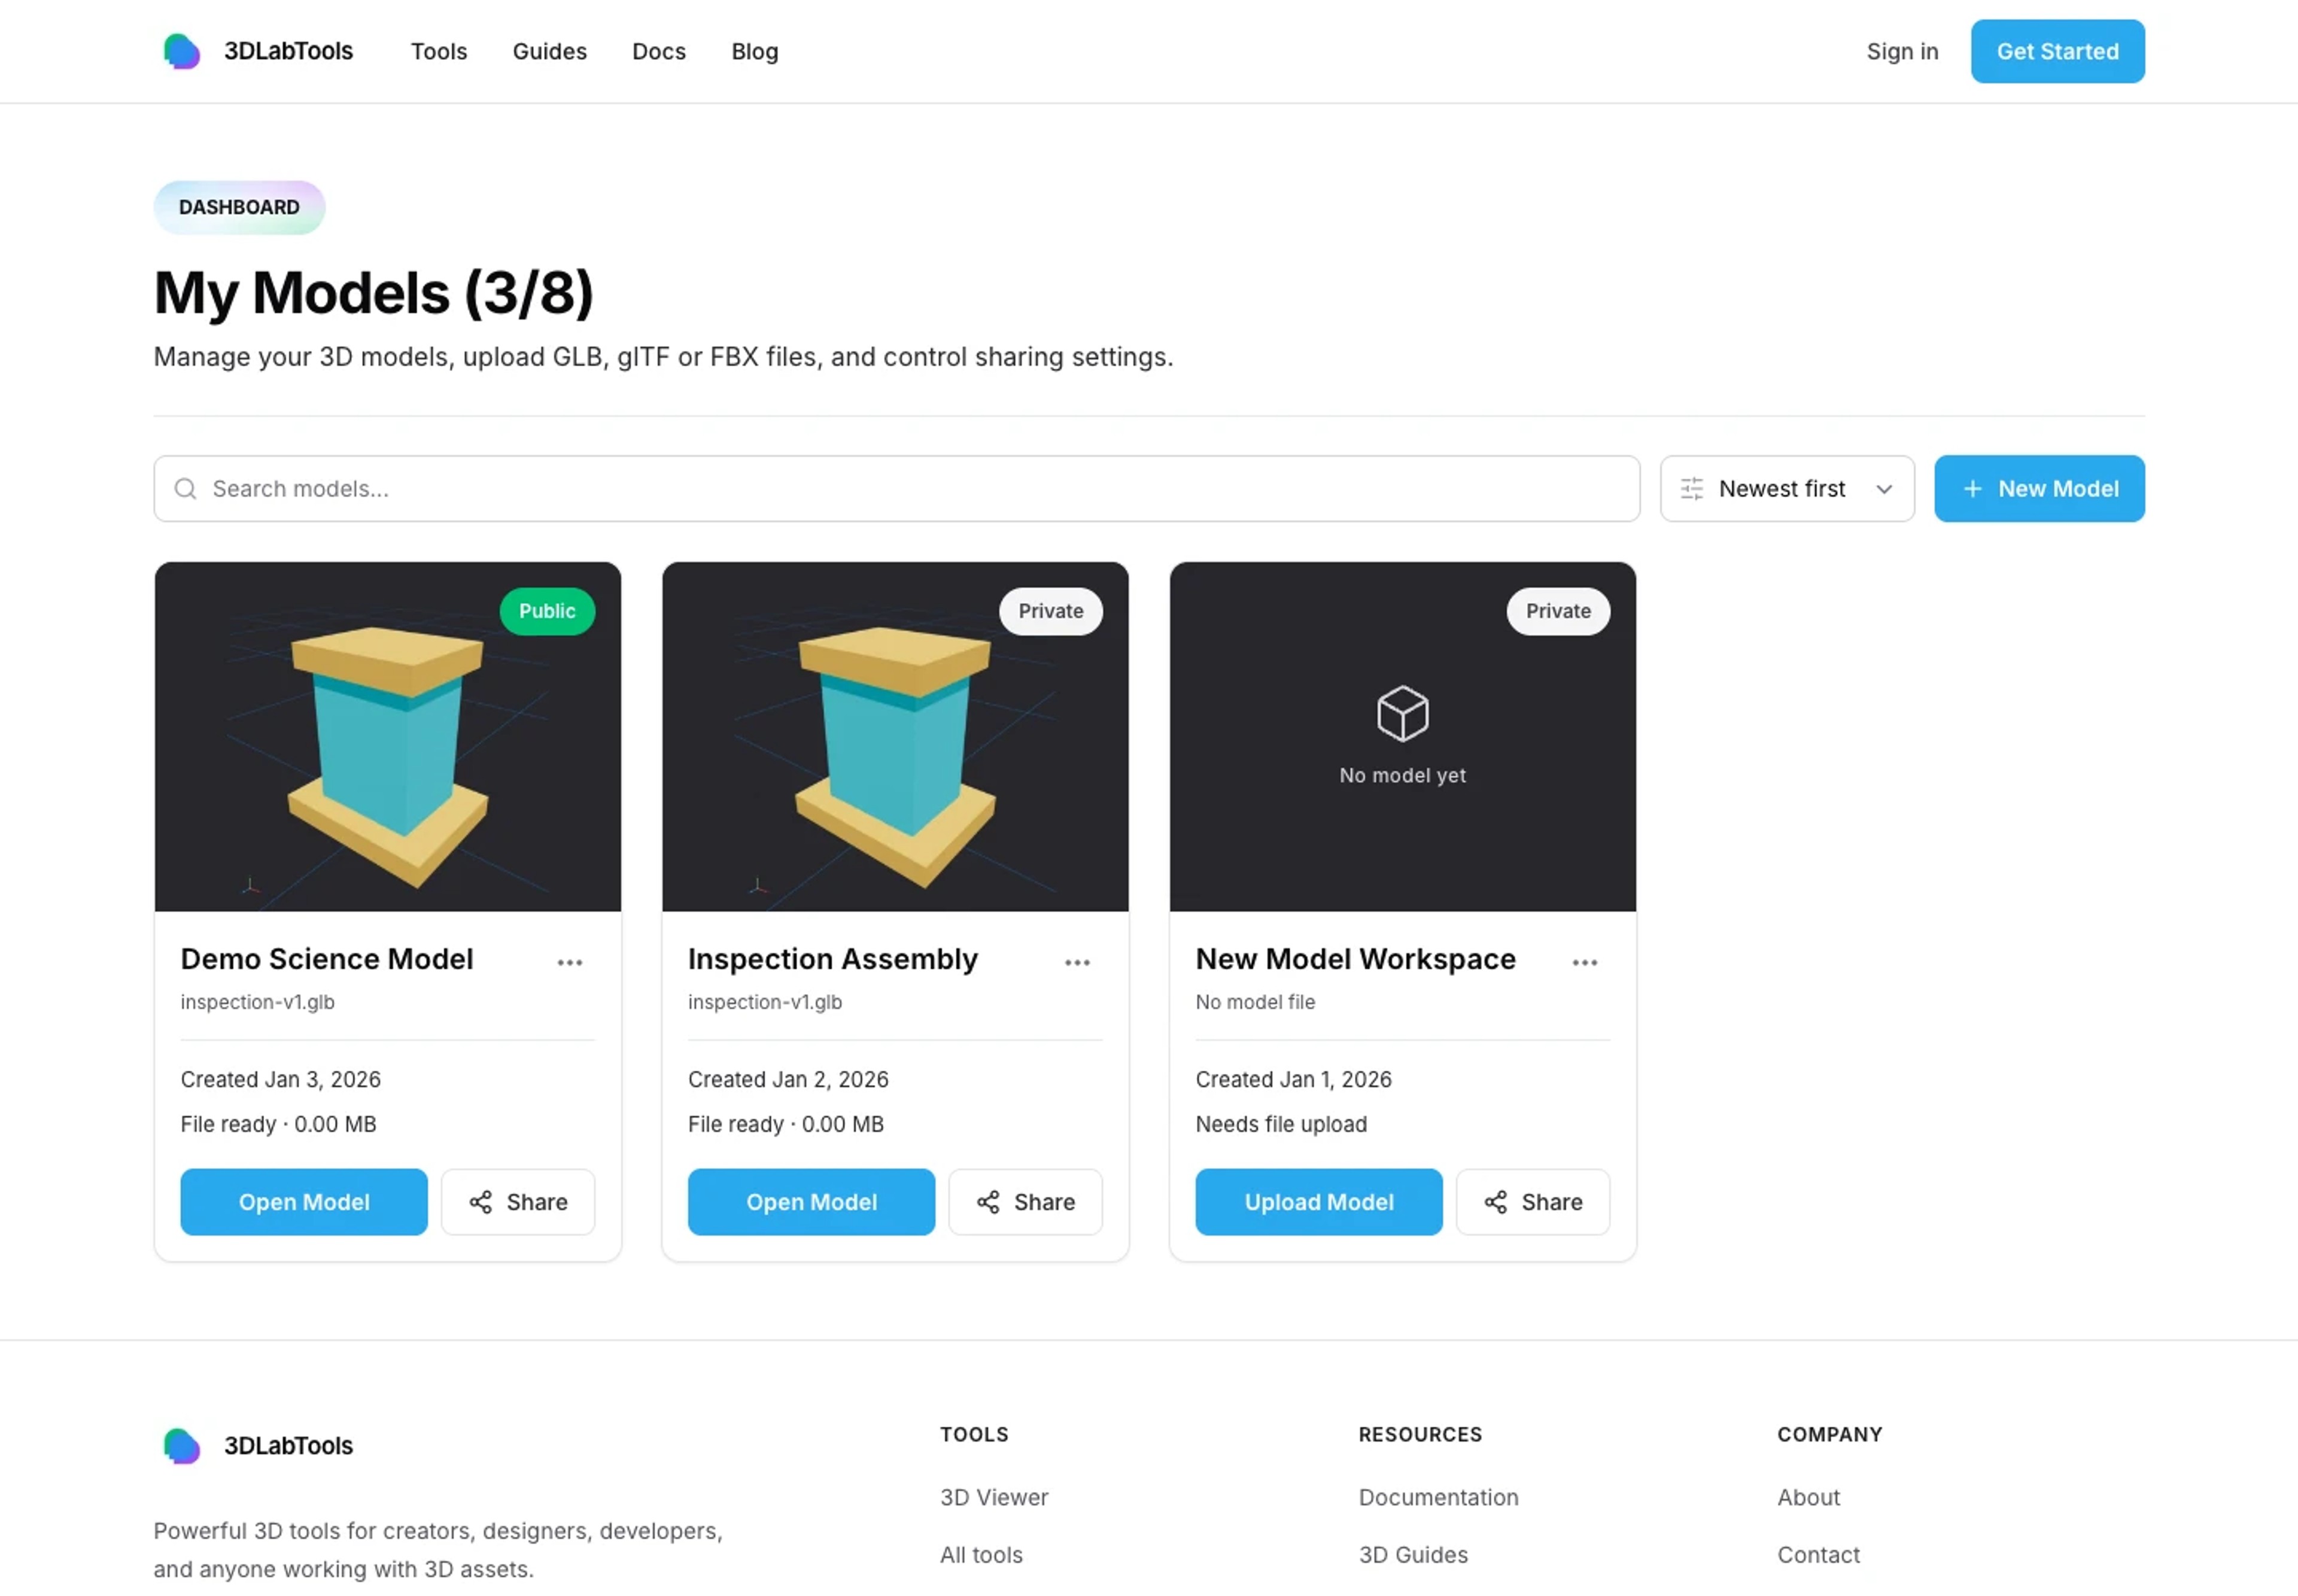
Find saved models and check the available model slots. 2. Choose a supported model
Open the Dashboard upload dialog and select a GLB, glTF, or FBX file. Supply referenced resources for multi-file glTF assets when requested. Use a self-contained export when possible to reduce missing-resource problems.
If you are unsure which export to use, read GLB vs glTF vs FBX. An input file below 100 MB may still produce a larger prepared GLB.
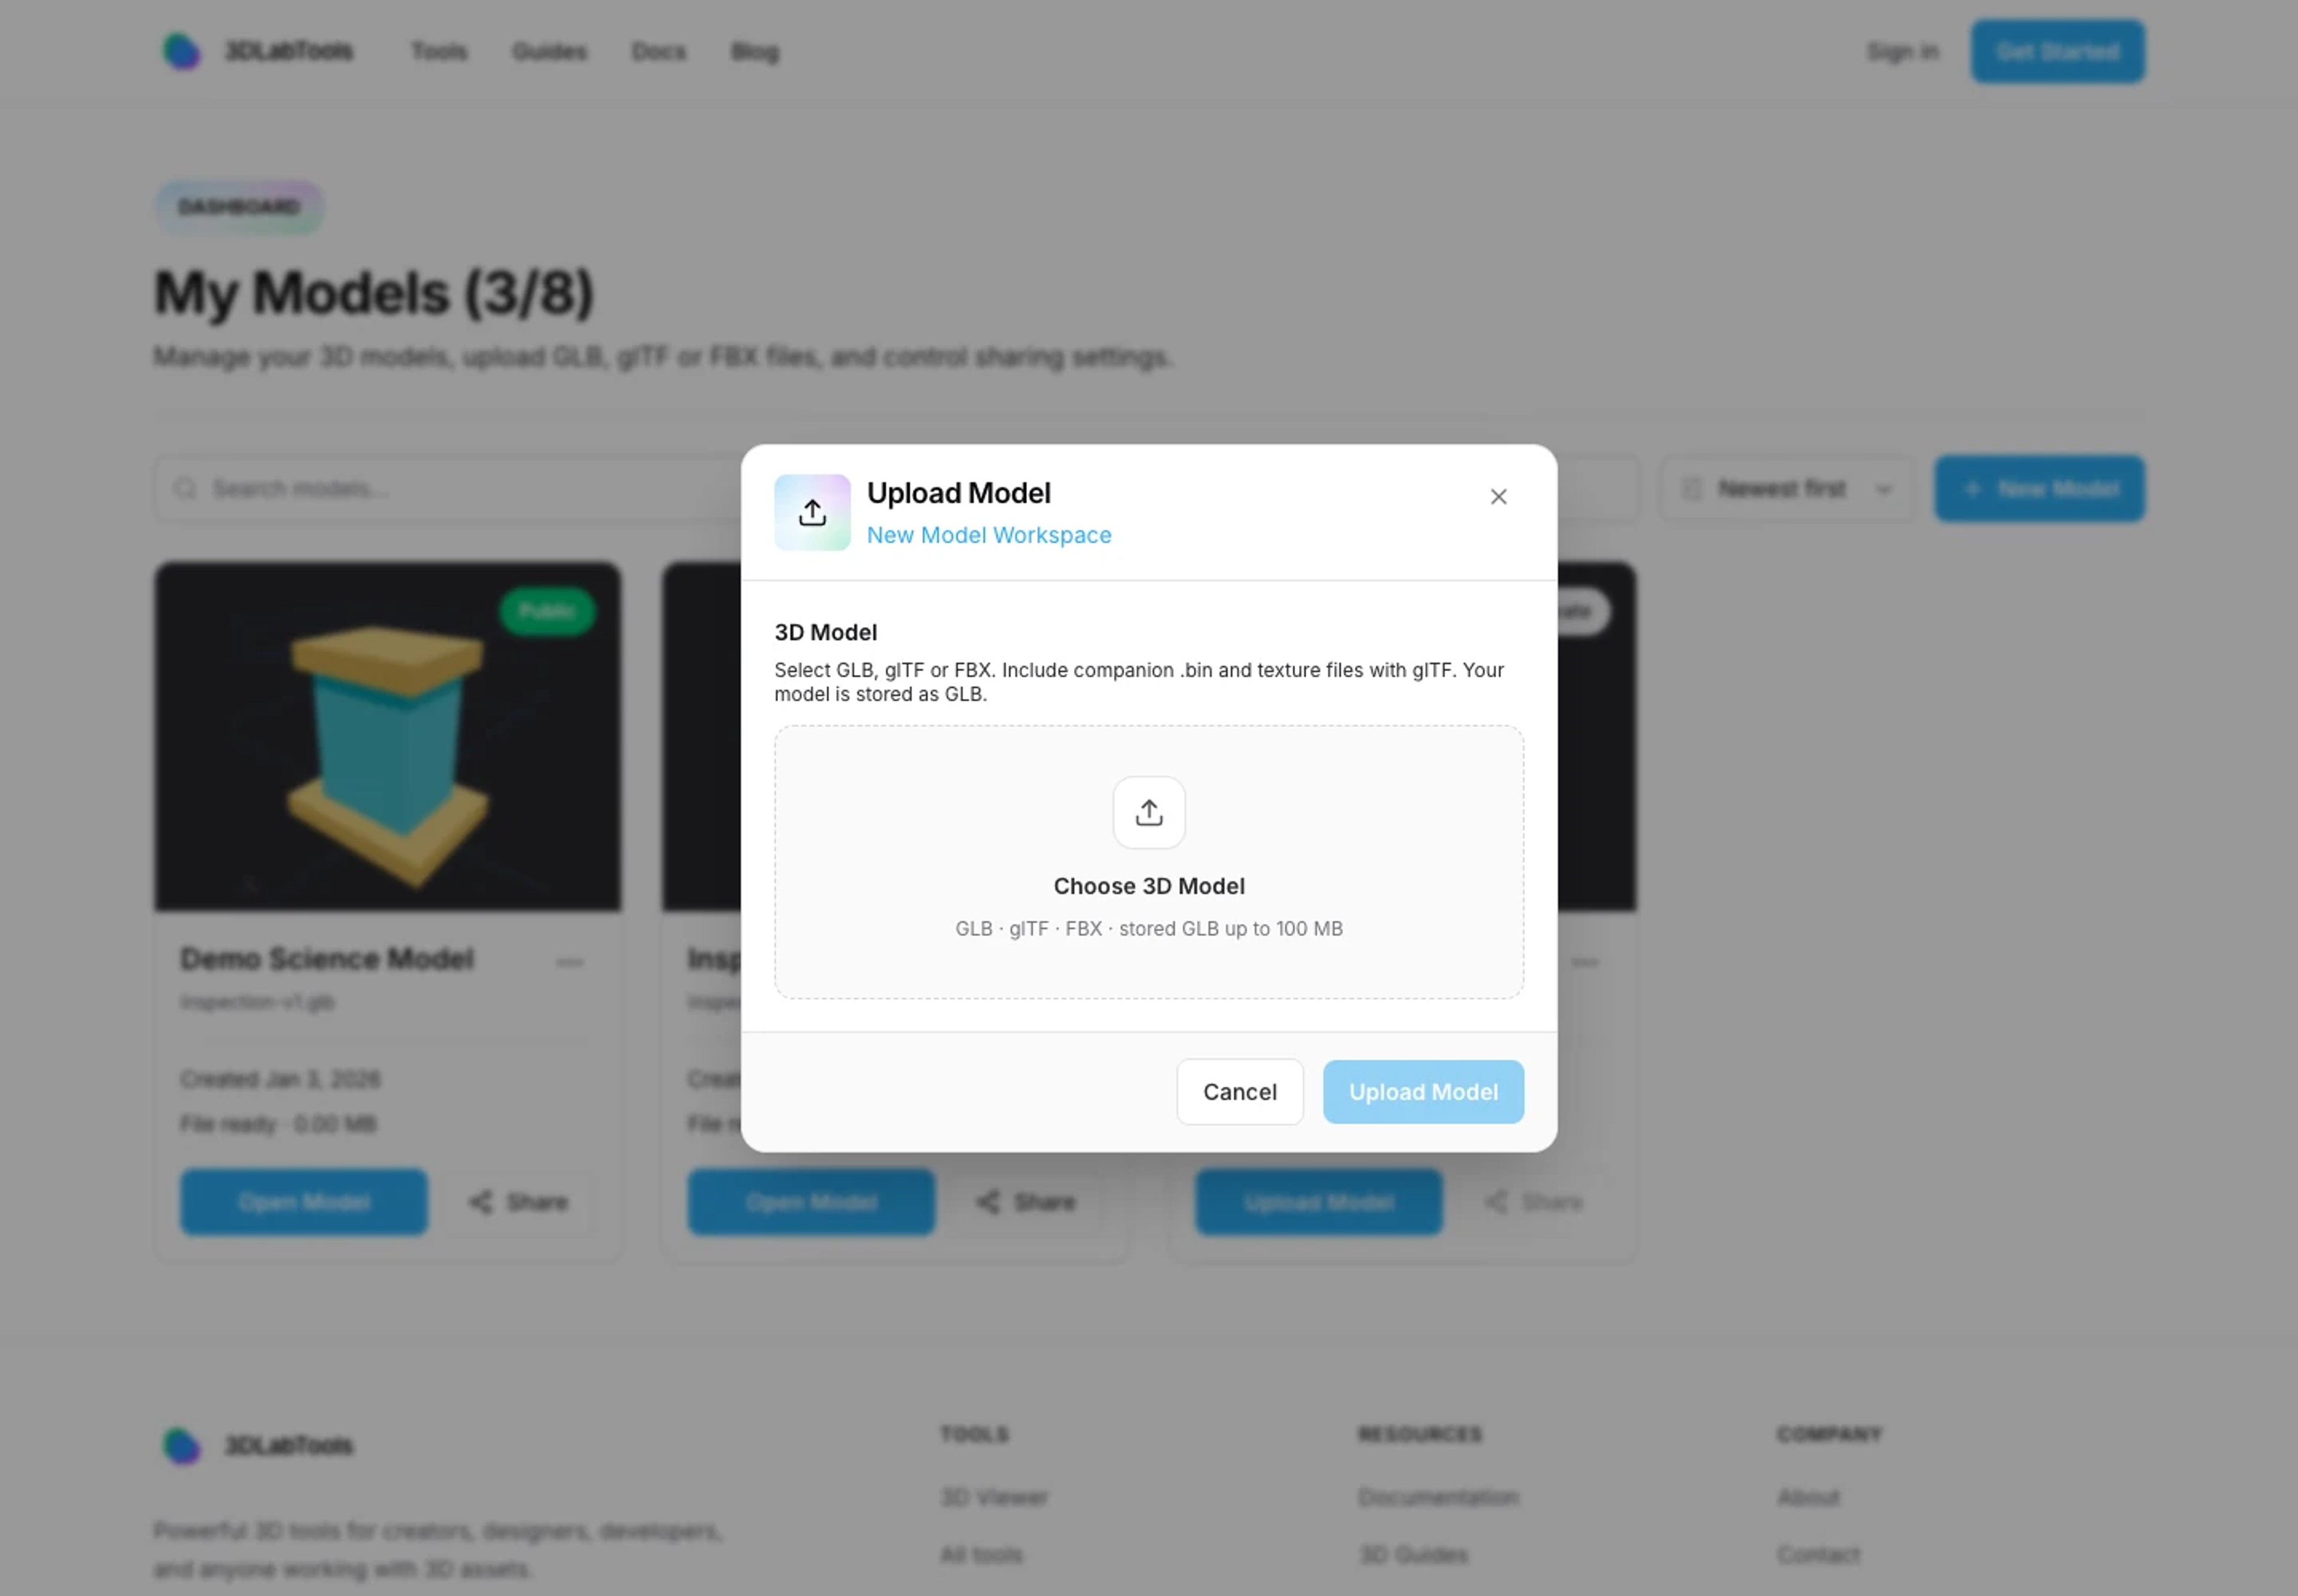
Choose a supported model in the upload dialog. 3. Let preparation finish
The upload flow prepares the selected model as GLB before source upload. GLB inputs are validated; glTF and FBX inputs use the current conversion pipeline. Geometry, materials, textures, and animations are preserved where the adapters support them.
A preparation error appears before a source upload succeeds. For an unsupported FBX feature or missing texture, correct the export in your authoring tool or export GLB directly. Do not keep retrying the same unsupported file without addressing the reported issue.
4. Wait for the source upload to complete
Keep the upload dialog open while the prepared source is sent and model metadata is committed. Large files can take time to transfer even on a model that is easy to render.
A successful source upload and metadata update complete the upload UI. If the request fails or times out, read the displayed error and retry once the connection or file issue has been resolved. See Troubleshooting.
5. Reopen the saved model and check its preview
Find the saved model in the Dashboard and open it in the Viewer. Confirm that the geometry, textures, and any required animation are present after the GLB preparation step.
Thumbnail generation and thumbnail upload run separately from successful source upload completion. A card preview may update shortly afterward; its timing is not a second source-upload requirement.
6. Replace a model or prepare it for sharing
Use Replace Model on an existing saved model when updating that asset. Replacement uses the same format and size validation and does not consume another model slot. Recheck the changed source, especially if geometry has moved relative to existing annotations.
When the saved version is ready for a reviewer, continue with Share and Embed. Review the V1 limits if an upload is rejected because of size or quota.
Explore product documentation or open the 3D Viewer.