

Annotations attach a titled note to a position on the model. Use them to identify a component, explain a design detail, or tell a reviewer exactly what to inspect.
This workflow belongs in the owner’s Viewer. Public Share View displays saved annotations read-only. Use a saved model you own if you want the notes to persist and appear in a share link.
1. Open the model and choose a clear view
Open your saved model from the Dashboard. Orbit to the area you want to describe and use Fit Model if needed. A clear view makes it easier to place the hotspot on the intended surface rather than on another mesh behind it.
For a first annotation, choose an obvious feature such as a handle or doorway. Avoid placing notes on empty background.
2. Start annotation placement
Open the Annotations panel and use Add annotation. The Viewer prompts you to click on the model to place an annotation. Click the intended surface in the viewport.
The selected position becomes the hotspot anchor. Check it from another camera angle before adding detailed text. If you picked the wrong part, remove that annotation and place a new one on the correct surface.
3. Add a short title and useful text
Use the annotation editor to set the title and text. Keep the title recognizable in a small hotspot or list entry, and put the explanation in the note body.
For example, use “Door clearance” with “Check the opening from the corridor view before approving this layout.” A note like “Fix this” is harder to act on without additional context.
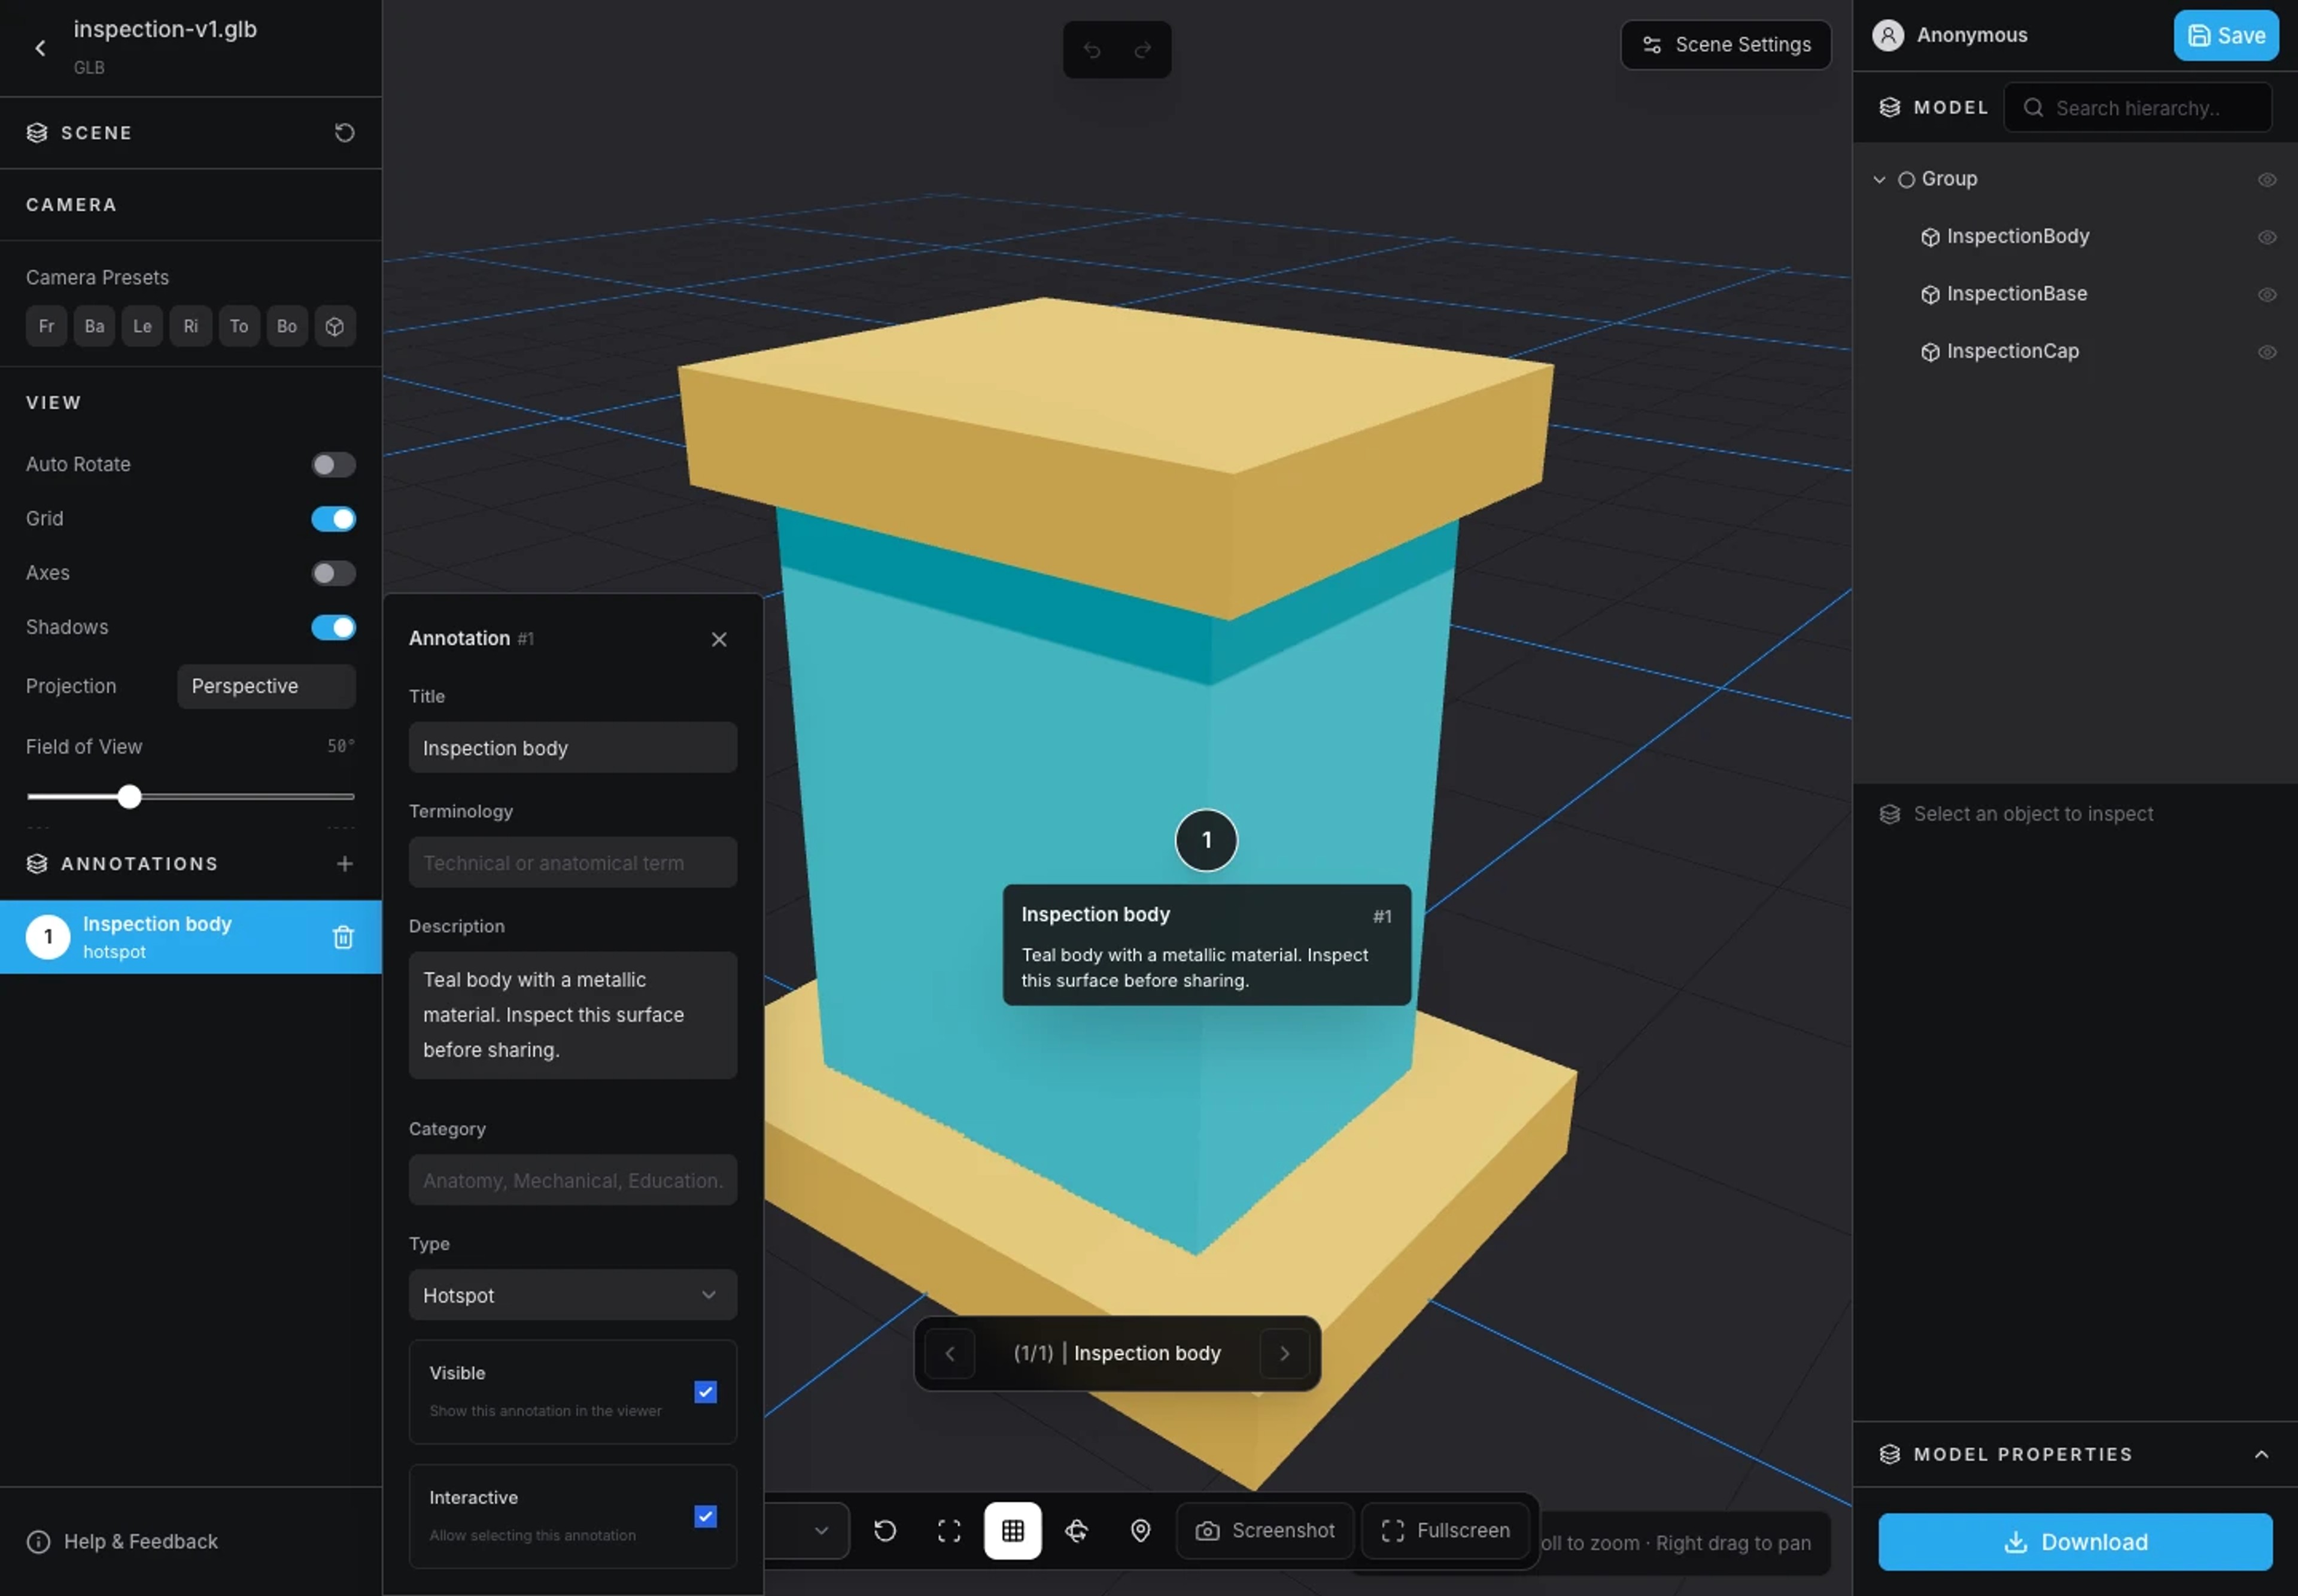
Give the annotation a short title and useful context. 4. Edit or delete a note
Select an existing annotation from the panel or its hotspot to inspect it. Edit its fields in the annotation editor. Delete a note from the panel when it is no longer relevant.
If its anchor needs to move to another surface, deleting and placing a new annotation is a reliable way to change that location. After a model replacement, inspect the hotspot positions because the underlying geometry may have changed.
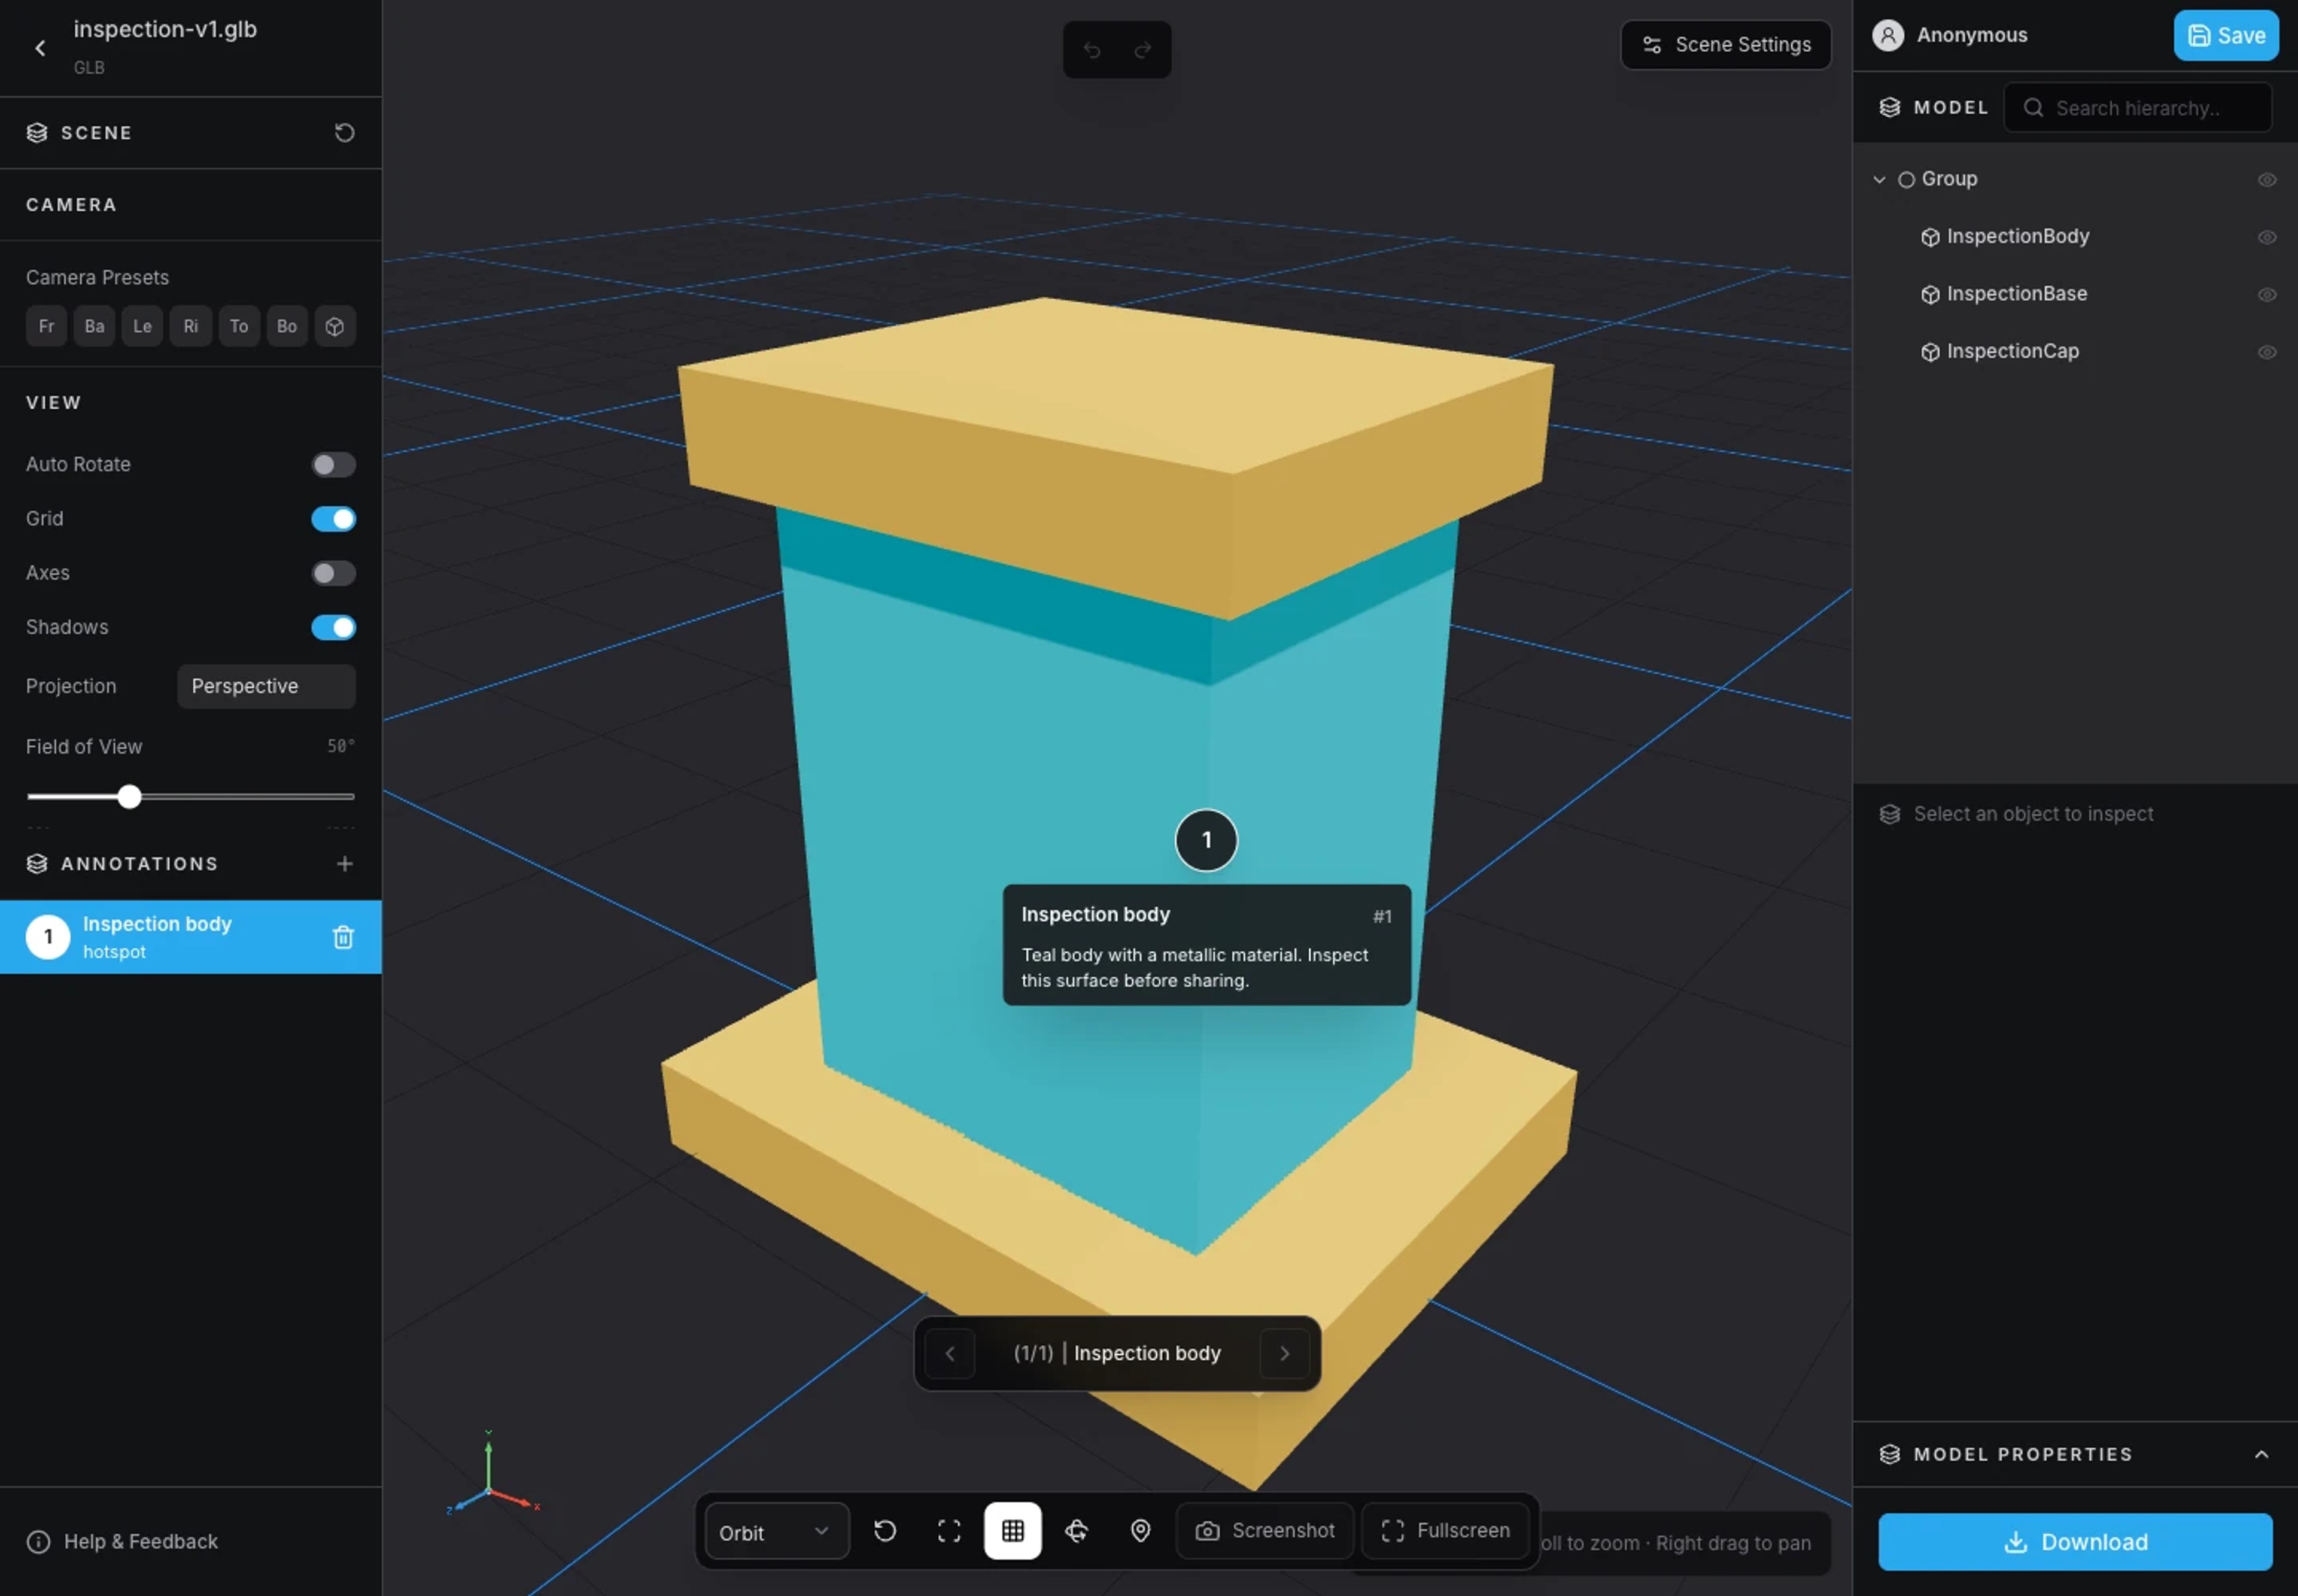
Review the labeled hotspot after saving the note. 5. Confirm saved-model persistence
On an owned saved model, annotation changes use the existing persistence flow. Wait for changes to finish, check for a save error, then reopen the saved model to confirm that the notes are present.
Annotations on an unsaved local viewing session are not a promise of permanent storage. Save and reopen a model through the account workflow before relying on notes for a review.
6. Review the read-only hotspots publicly
Make the saved model public and open its Share View while signed out. Confirm that the hotspot titles and text are useful without the owner’s editor controls.
The public annotation toggle only shows or hides existing hotspots and is hidden when none exist. Visitors cannot edit or delete notes. See Share View documentation and the Share and Embed guide for access and embedding checks.
Explore product documentation or open the 3D Viewer.