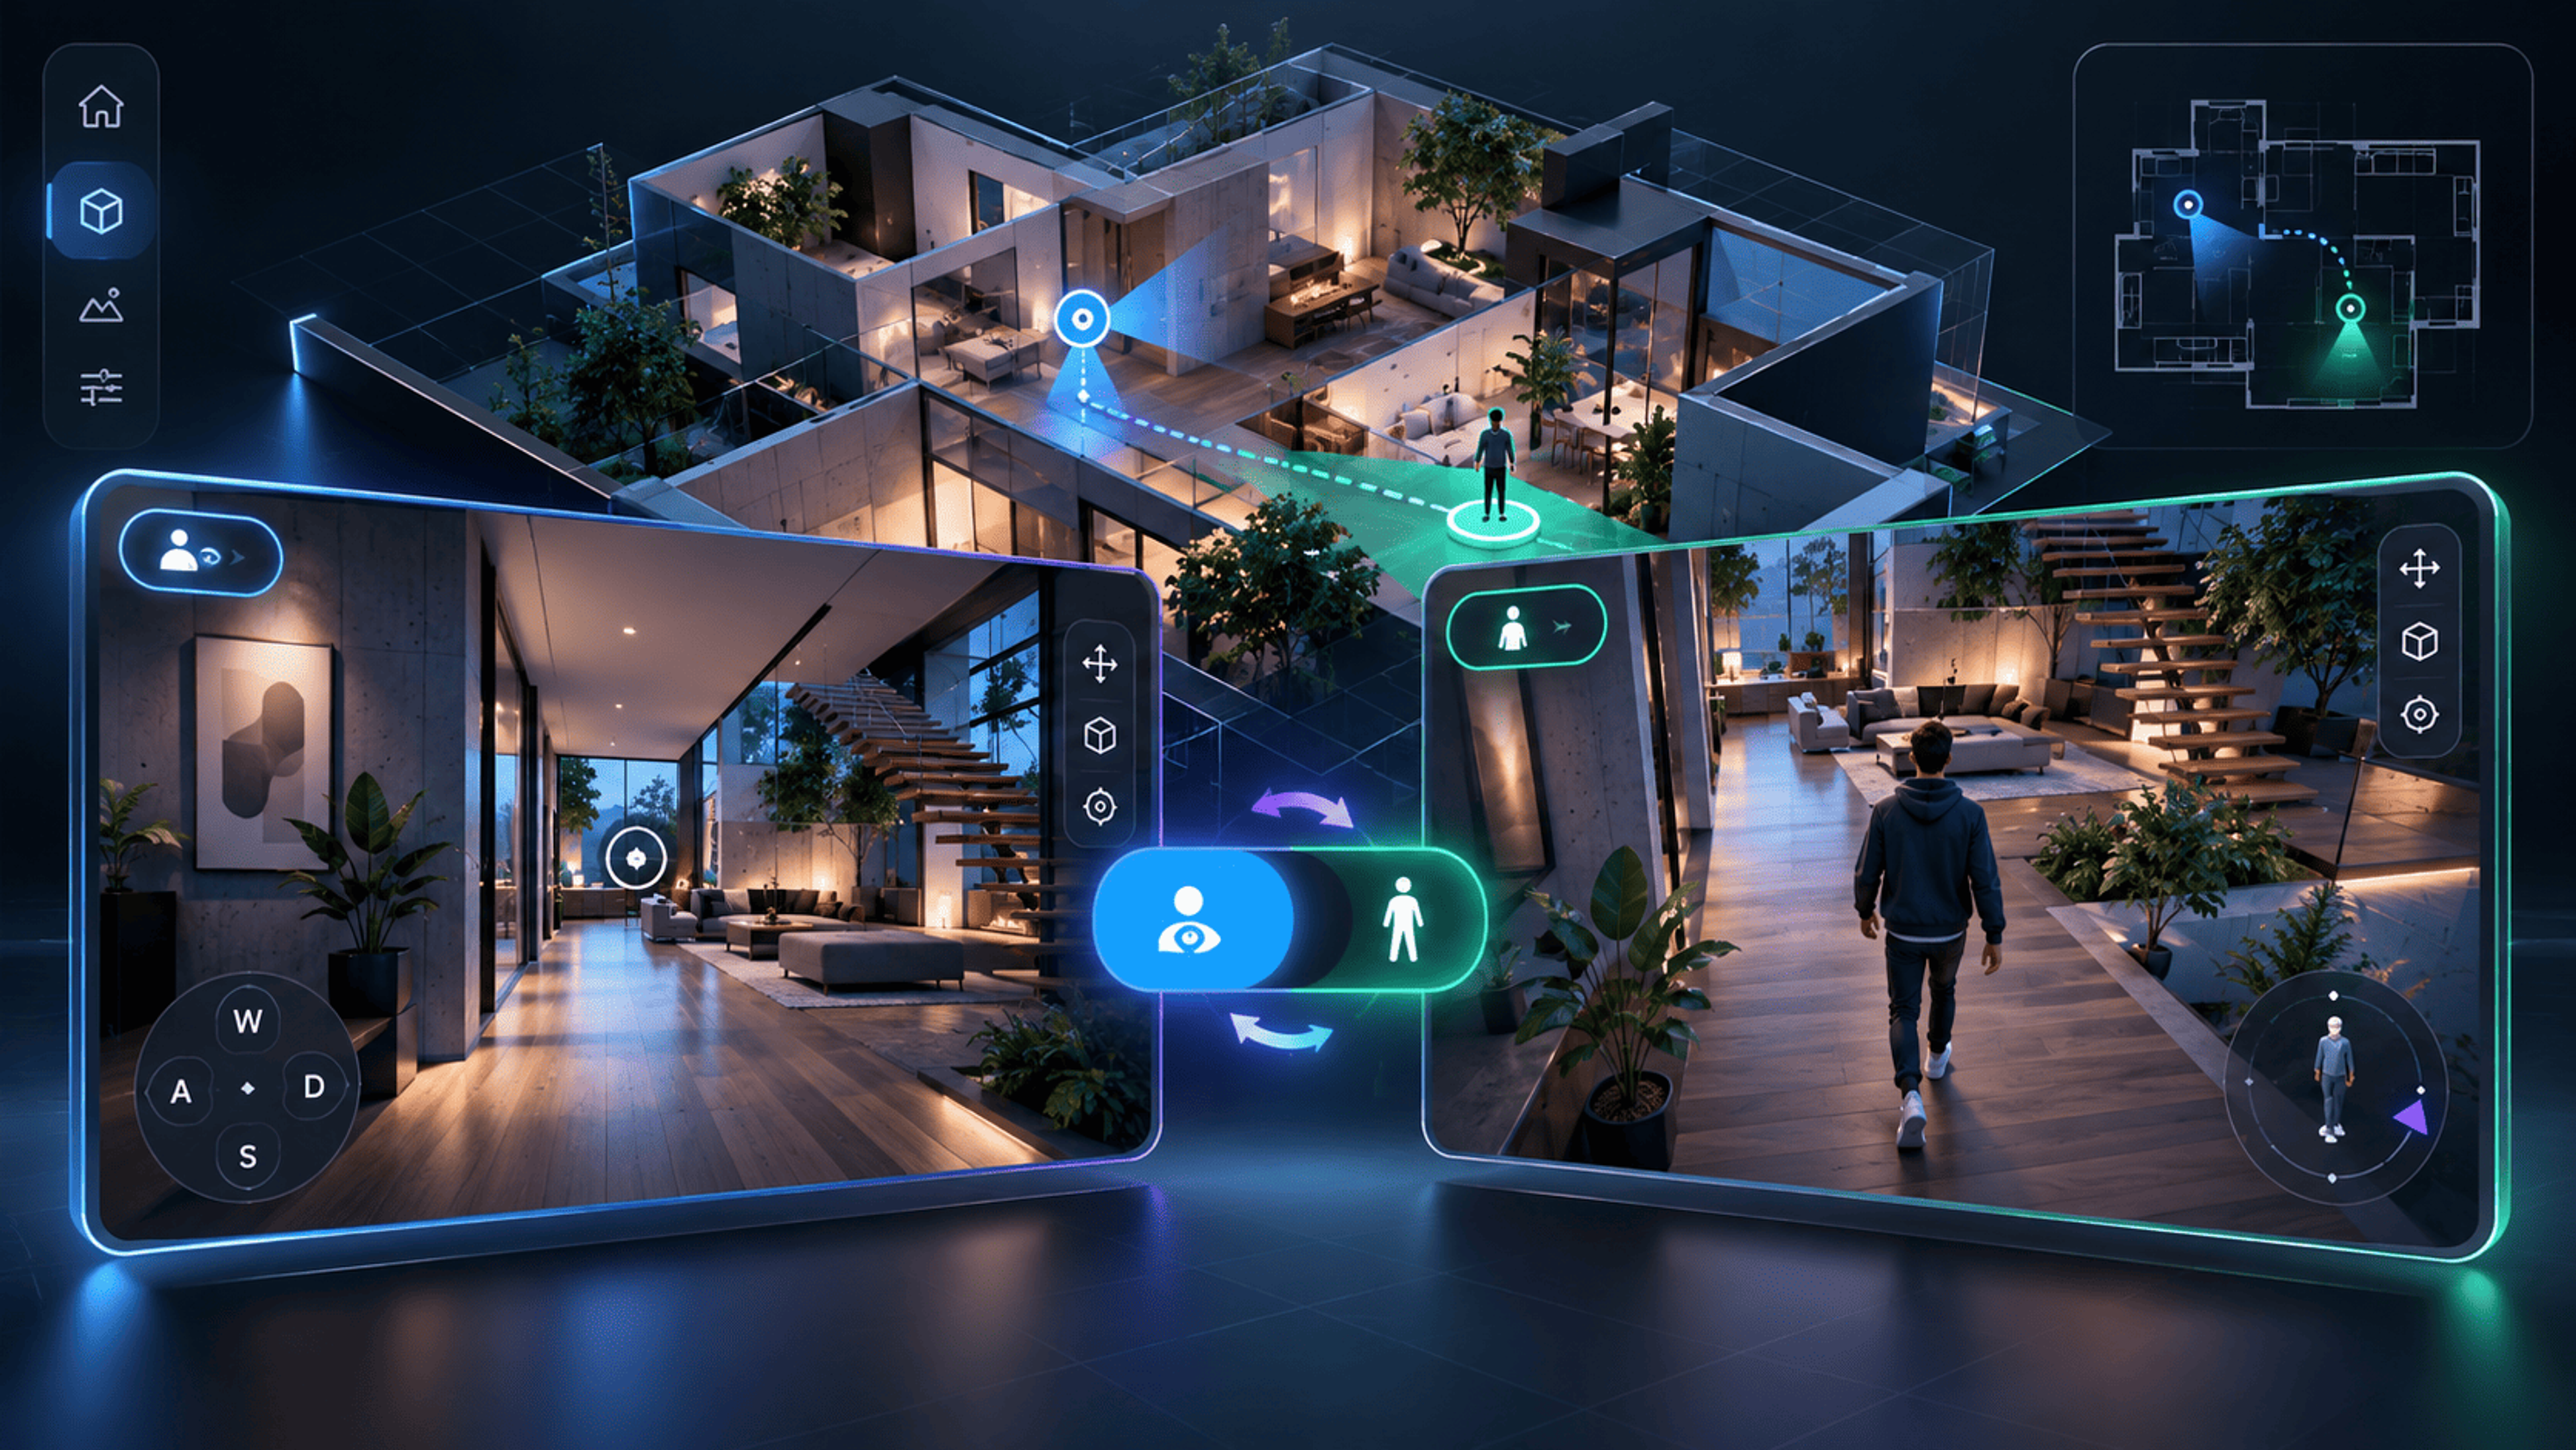
First Person and Third Person navigation offer a pedestrian-style view of a suitable scene. They can help inspect roads, floors, sightlines, and accessible openings that are harder to judge from Orbit alone.
Use a desktop keyboard and mouse for this V1 workflow. Navigation depends on the scene's static geometry and adaptive collision preparation. There is no mobile joystick, jump control, or saved player position.
1. Inspect the scene in Orbit
Load the model in the 3D Viewer. Use Fit Model, then inspect the ground, floors, walls, and likely openings from Orbit. Check the source scale and orientation rather than modifying them to make navigation appear to work.
An isolated product object or tightly closed mesh may not offer a useful walking route. Review the Viewer guide if you need to check the imported scene first.
2. Select First Person or Third Person
Use the viewport navigation selector to switch from Orbit to First Person or Third Person. First Person keeps the camera at the player's viewpoint; Third Person adds a lightweight 3DLabTools character with a following camera.
The character is separate from the uploaded scene. It is not a new part of your saved model. Wait for collision preparation and any required character loading rather than assuming movement is immediately available.
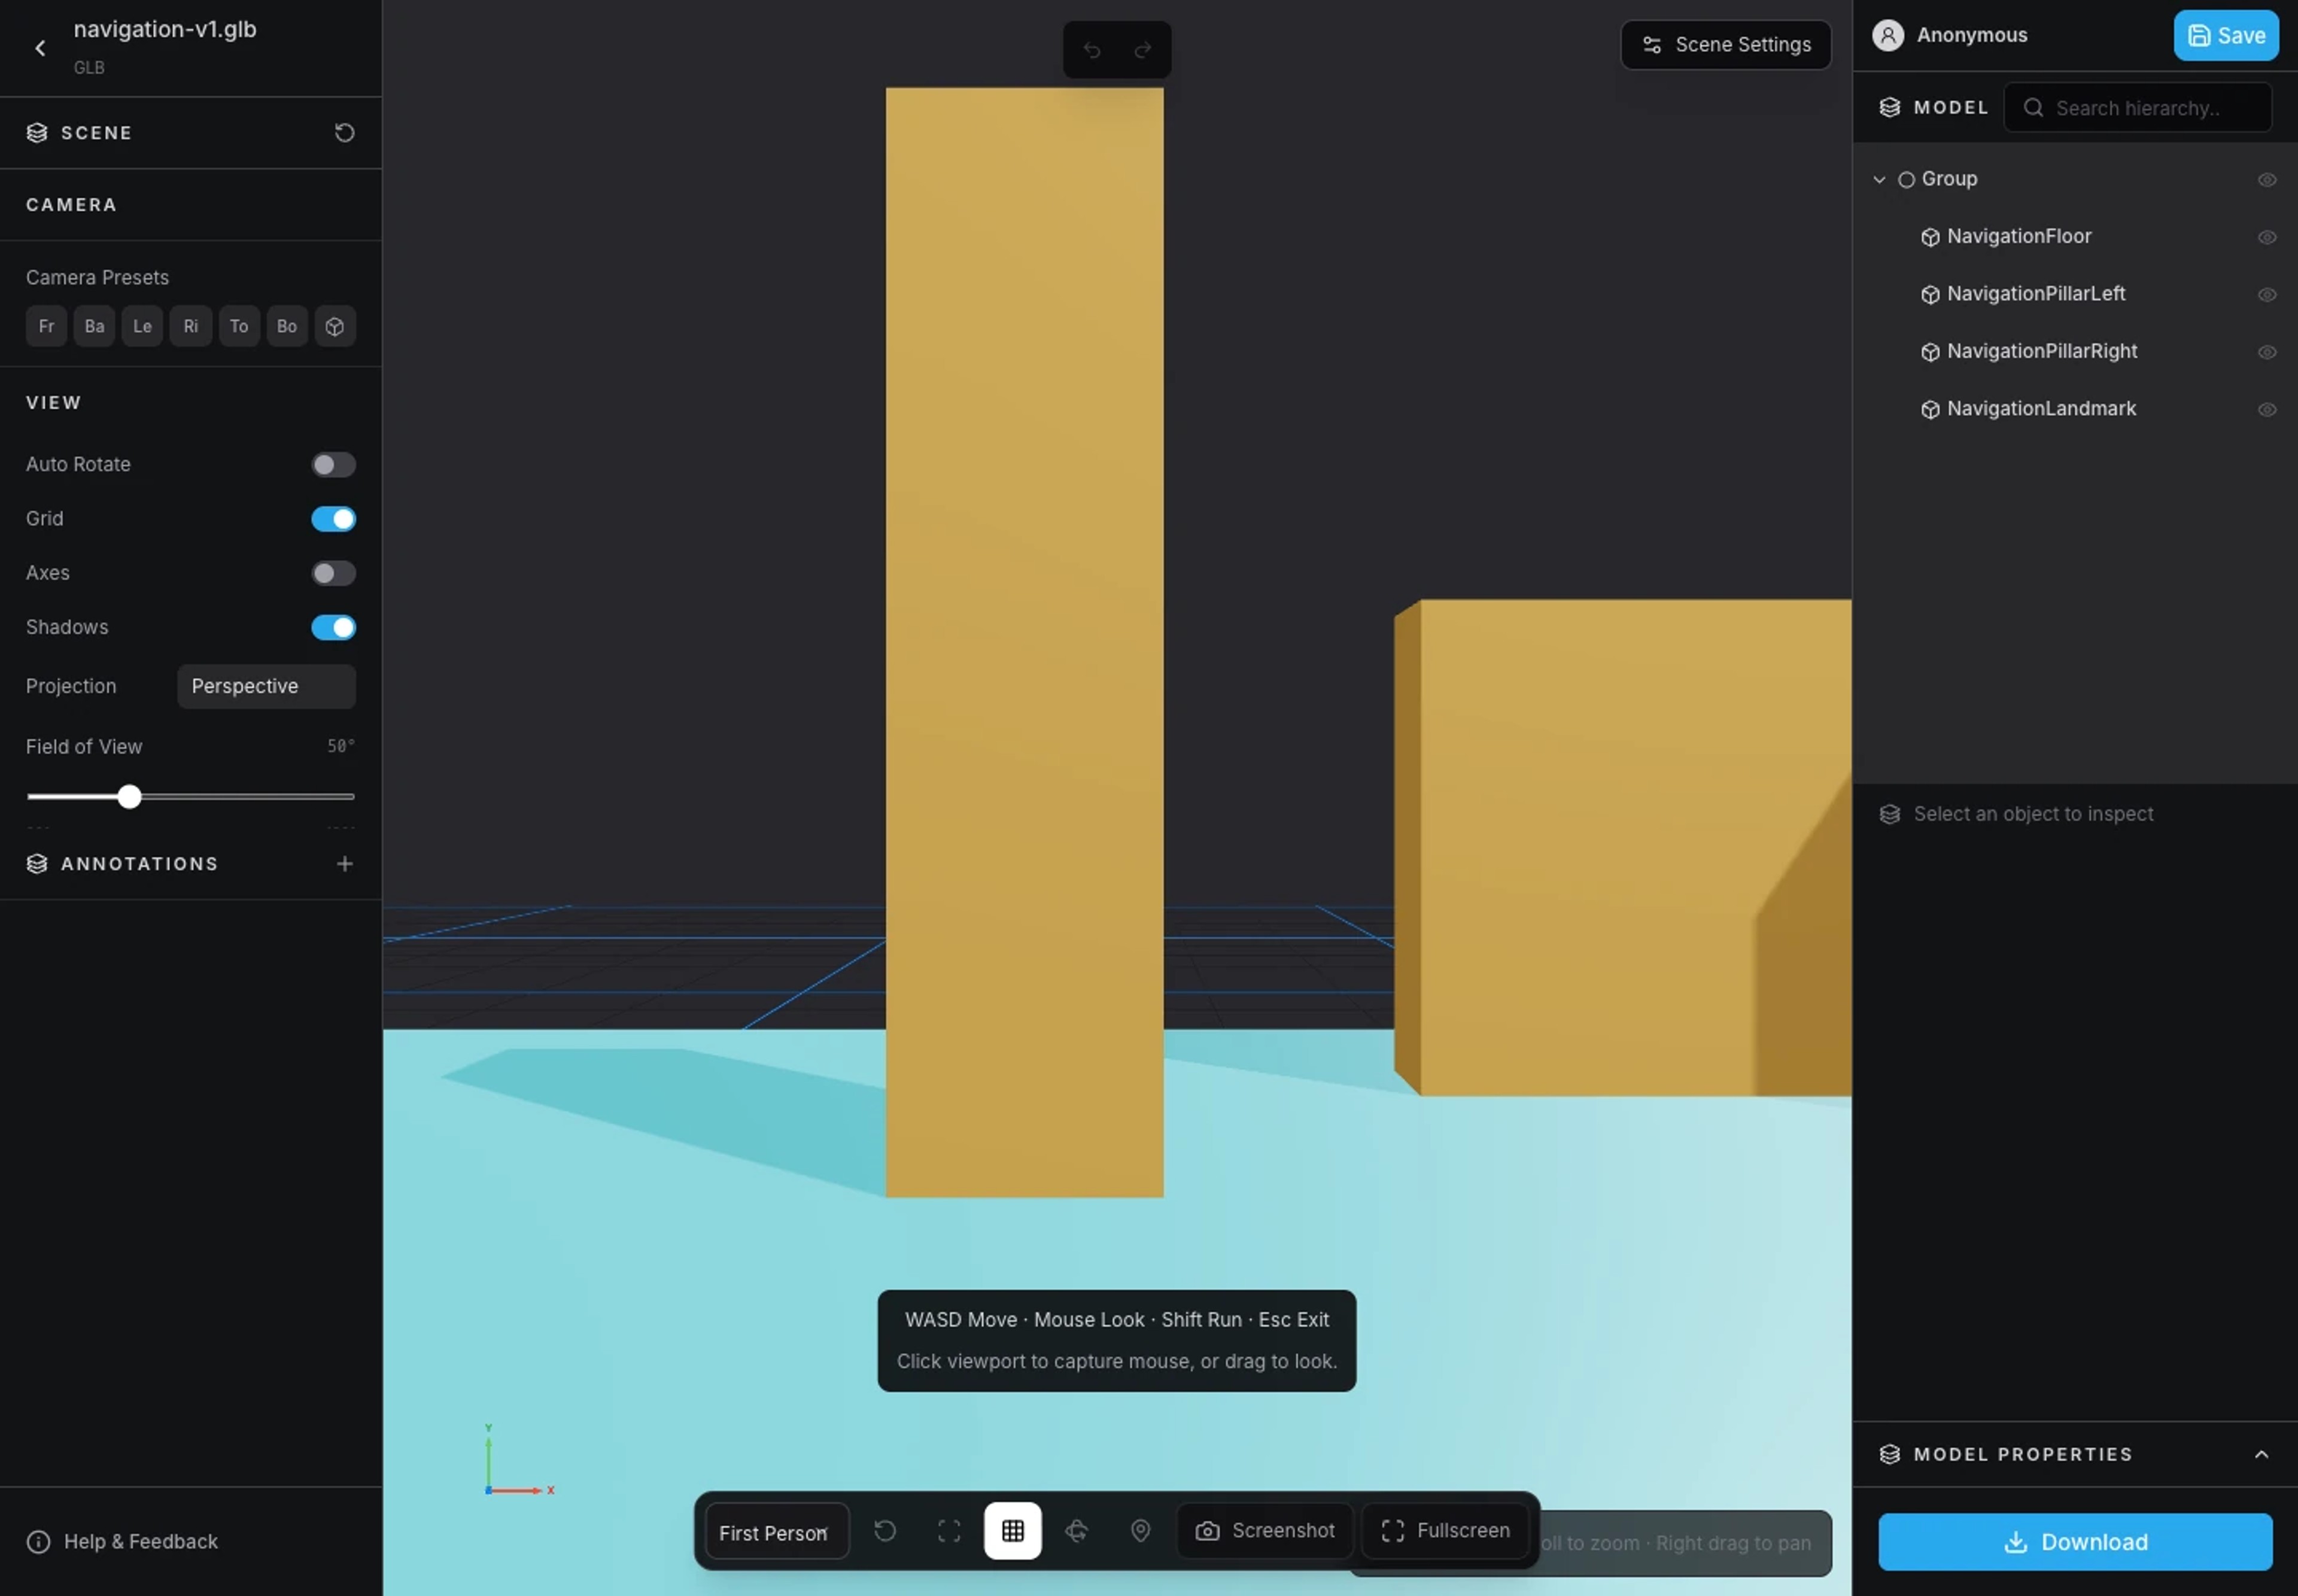
Inspect the scene from the First Person camera. 3. Check the initial spawn
Navigation derives candidate spawn positions from model bounds and suitable ground surfaces and checks for clearance. Inspect the starting position before moving. The system tries to avoid starting inside static geometry, but complex or closed scenes can have no safe spawn.
If navigation reports a preparation or spawn error, return to Orbit and inspect the source scene. Choosing a navigation mode does not cut a doorway into a wall or create a traversable interior.
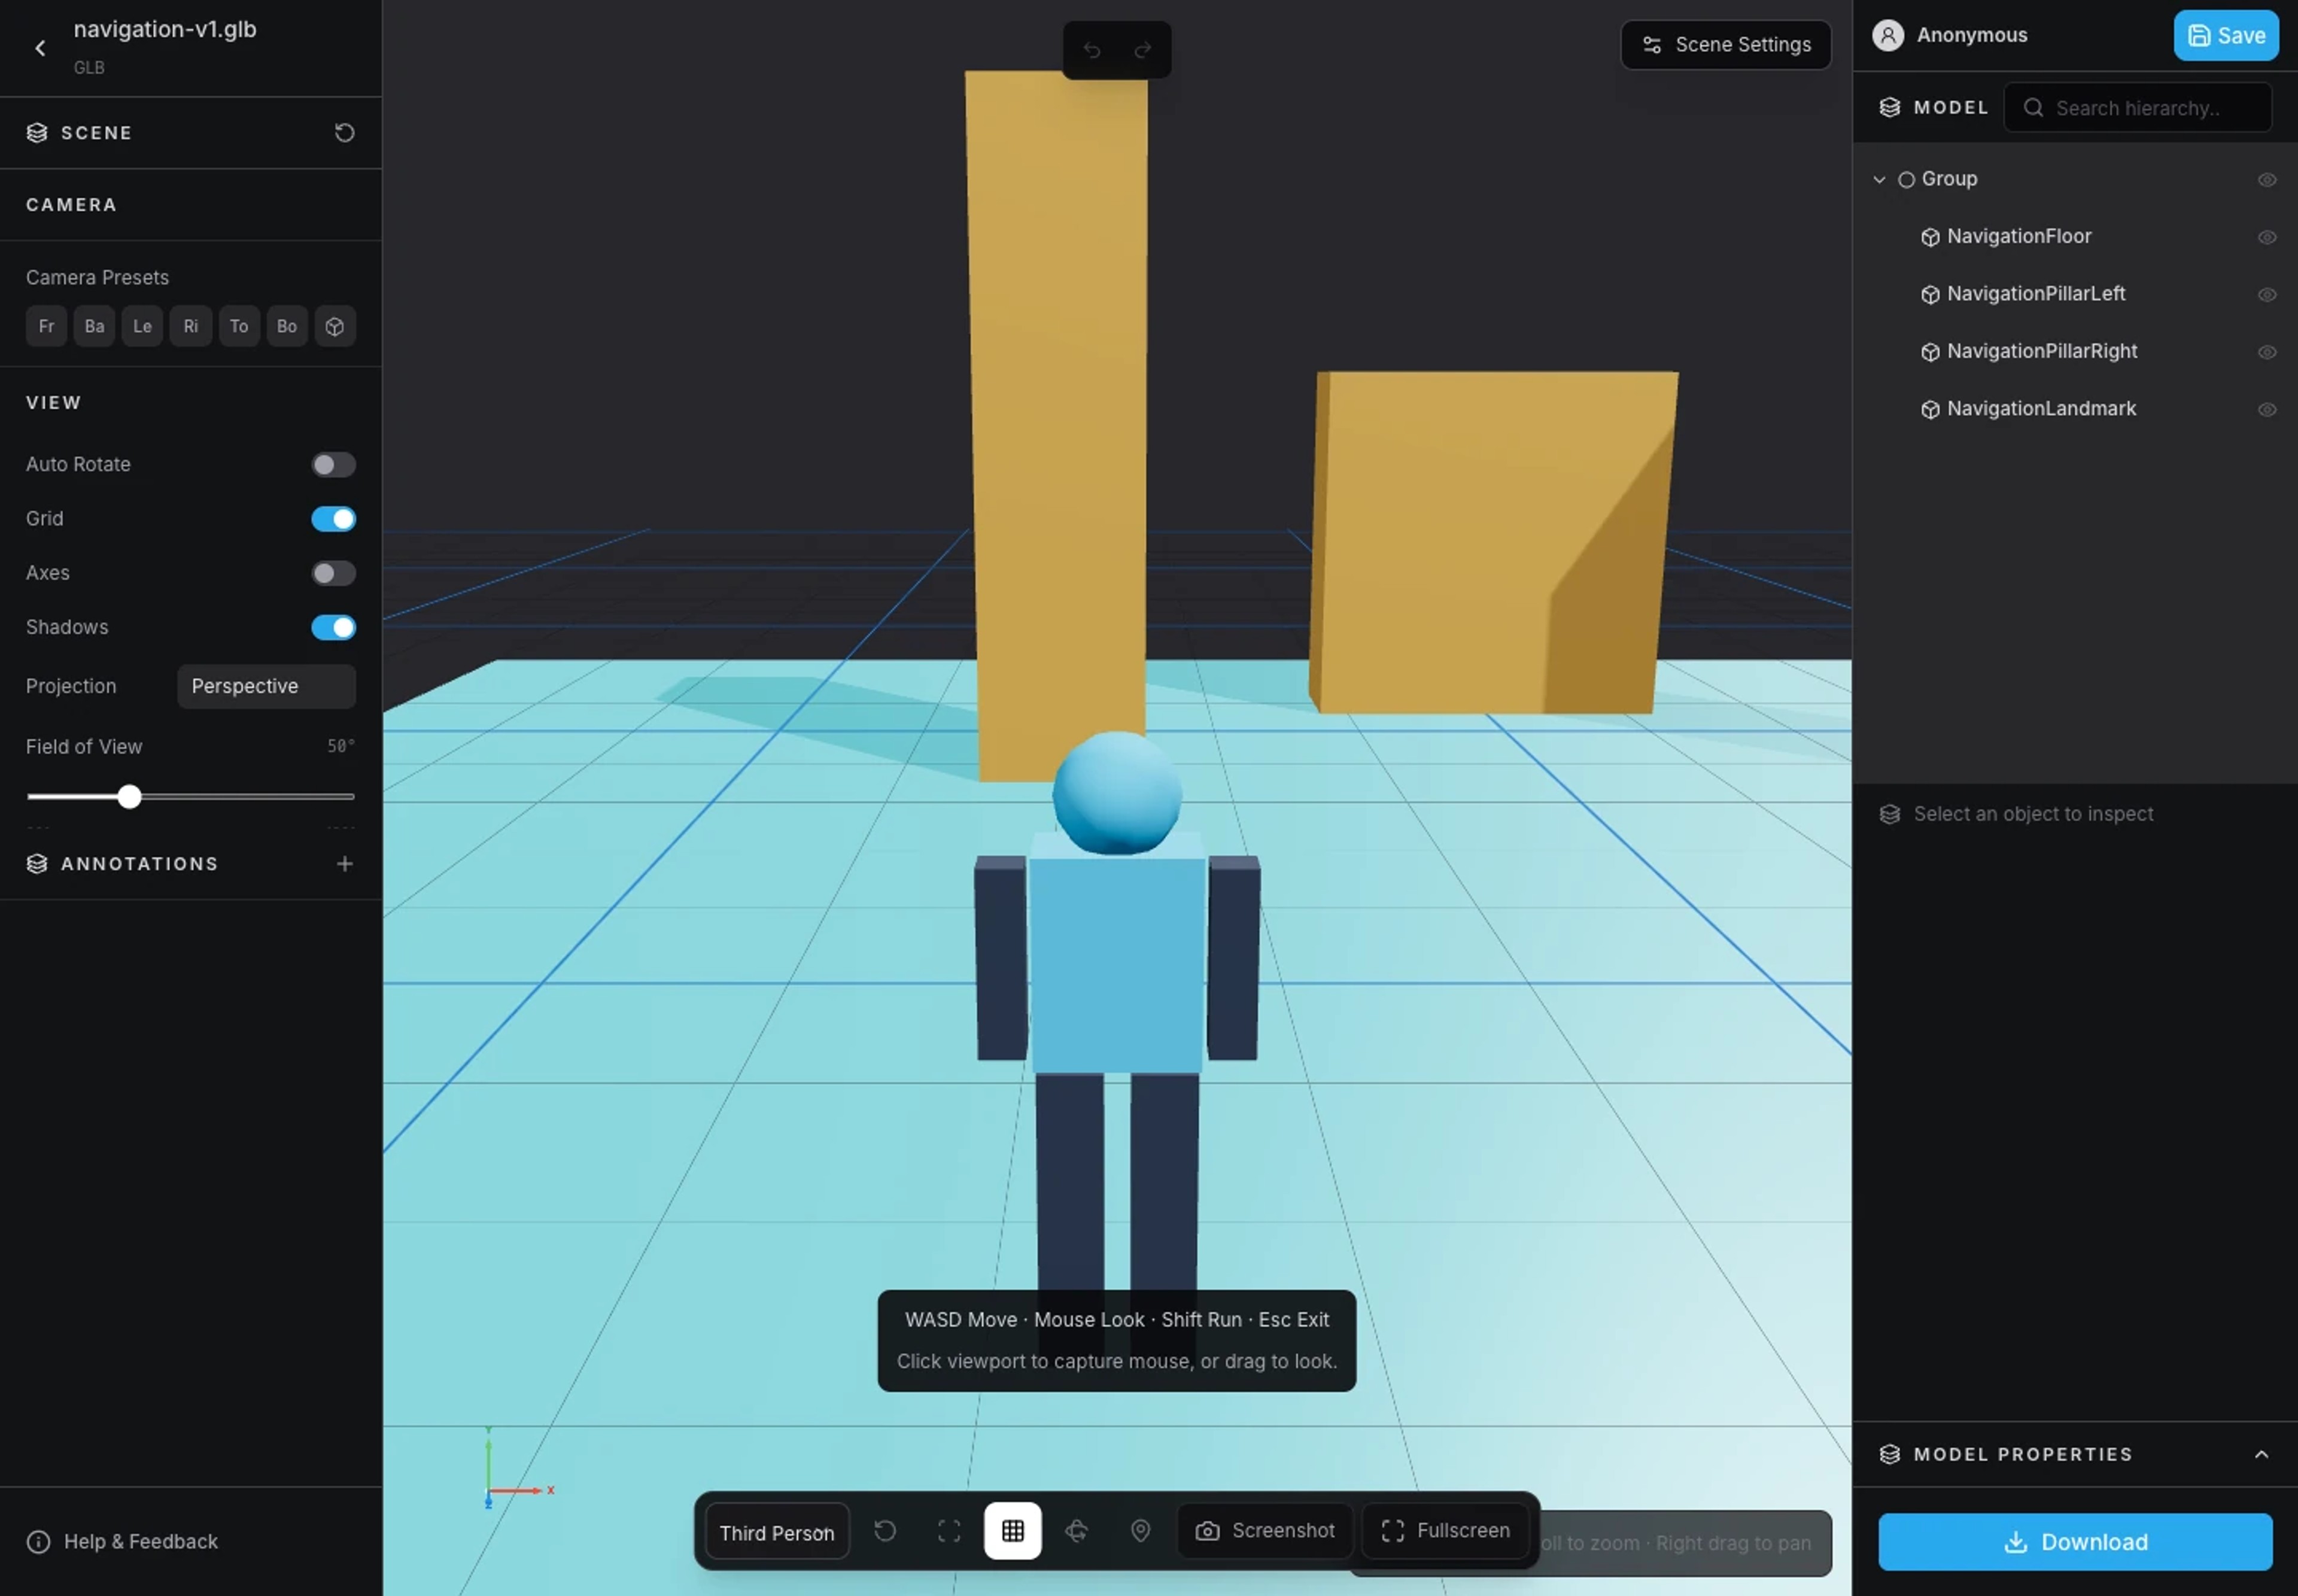
Check the initial spawn and ground from the Third Person view. 4. Move and look around
Click the viewport to focus it. Use WASD to move, mouse look to turn, and Shift while moving to run. The browser may use pointer lock; drag look is available where pointer lock is unavailable.
In Third Person, the character turns toward movement and uses Idle, Walk, or Run behavior where the loaded character supports those clips. The follow camera checks scene obstruction, so a wall can change the camera distance.
5. Test roads, sidewalks, yards, and floors
Walk a short route along a road or floor, then try an adjacent sidewalk or yard if the geometry permits it. Movement is not limited to the overall model bounds rectangle. Ground support, step height, slope, available clearance, and collisions determine which paths are usable.
Static walls and fences act as obstacles when represented by the collision geometry. A painted doorway on a solid wall is not an opening, and an opening that is too narrow or blocked by hidden geometry may be inaccessible. This controller is not a navmesh or server-physics system.
6. Respect the adaptive collision budget
Collision preparation supports up to 1,000,000 triangles, with lower effective budgets on constrained devices. This is a ceiling with safeguards, not a guarantee that every one-million-triangle environment supports smooth navigation.
If a scene is unavailable or slow in navigation, use Orbit and inspect its complexity with the Analyzer guide. Geometry simplification belongs in your source workflow; Viewer quality settings do not reduce collision triangles.
7. Exit and compare the view
Press Esc or choose Orbit to leave navigation. The Viewer restores the Orbit camera state. You can then compare the route with the overall scene and note any inaccessible geometry that needs attention in the source model.
Public Share View can reuse these navigation modes without exposing editor controls, where the scene and browser support them. Continue with Navigation documentation or Share and Embed.
Explore product documentation or open the 3D Viewer.