

Use this workflow to check an exported model in the browser before saving or sharing it. The 3DLabTools Viewer accepts GLB, glTF, and FBX and can expose the scene hierarchy, dimensions, materials, textures, and imported animation clips.
Have the exported file ready. If it references external buffers or images, keep those companion files together. A successful import confirms that this viewer can read the export; it does not validate every feature of the original authoring project.
1. Open the 3D Viewer
Open the 3D Viewer. You can inspect a local model without first saving it to an account. For a first check, choose a simple asset whose appearance and approximate dimensions you know.
This guide covers viewing. If you want a persistent Dashboard model and share link, continue with the upload and save guide afterward.
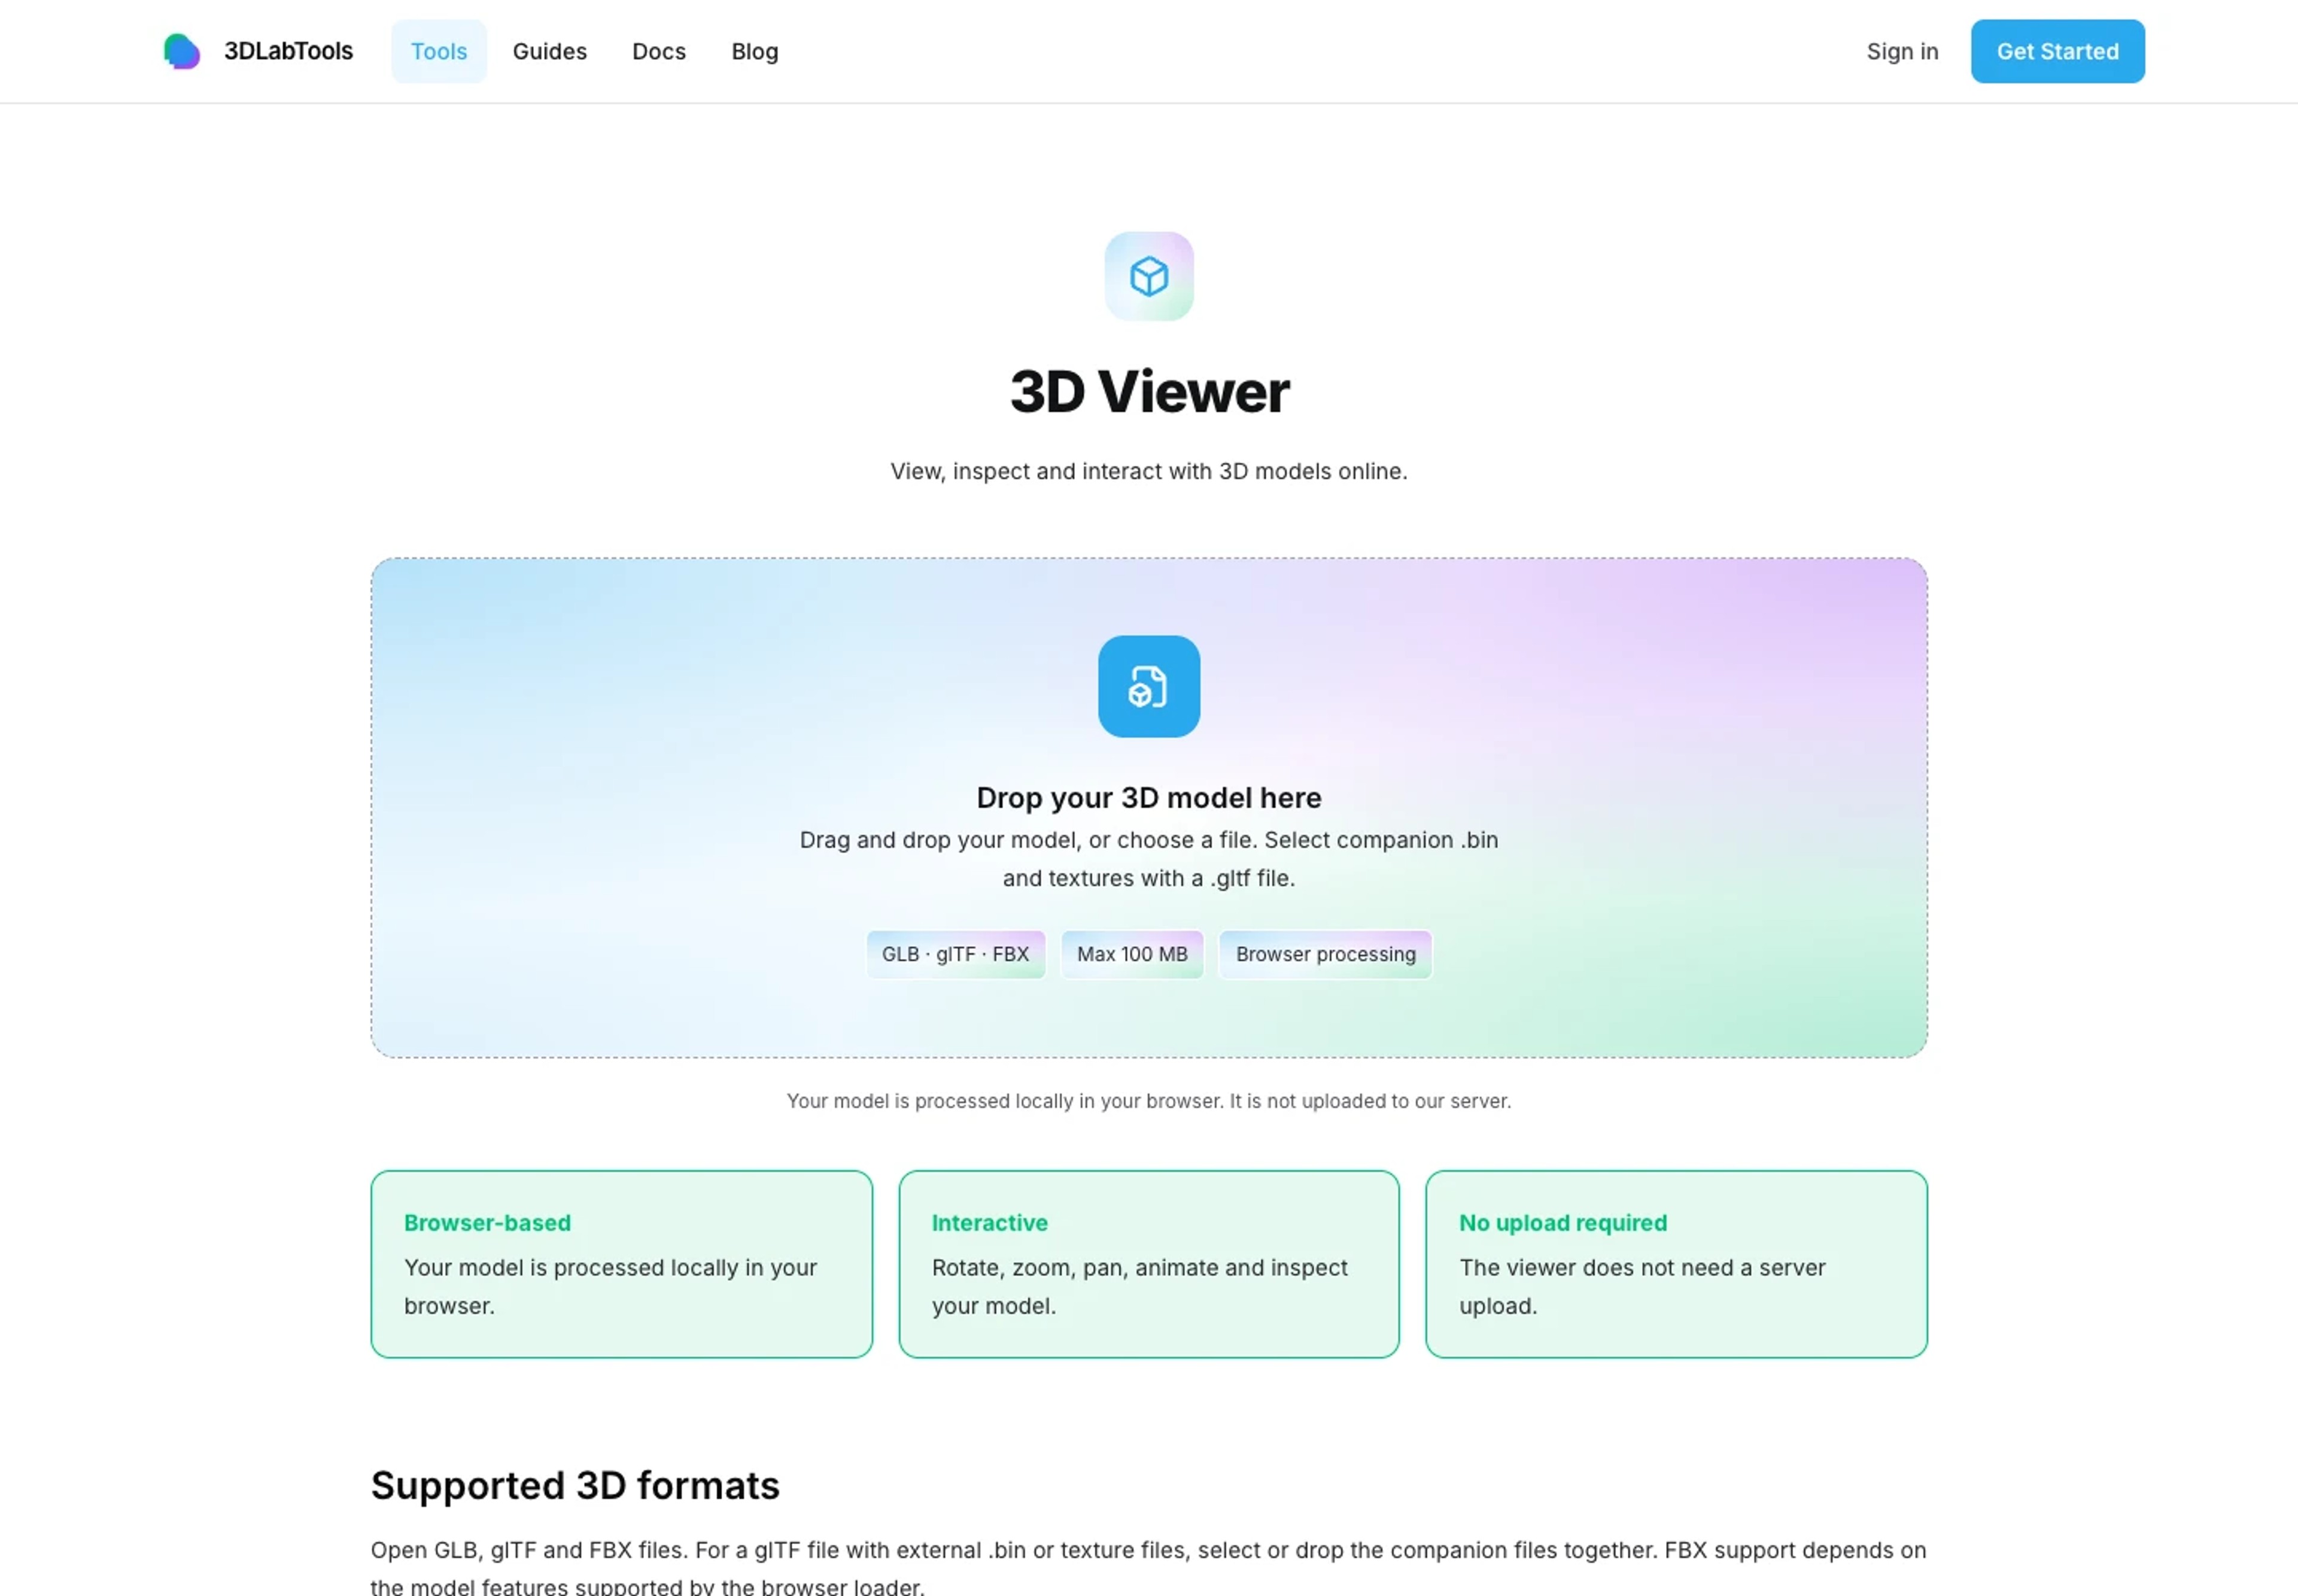
Open a supported model in the Viewer. 2. Load the model and its resources
Use the file picker or drop the model into the Viewer. Select GLB, glTF, or FBX input. For a multi-file glTF asset, provide the referenced buffers and textures when prompted; their relative paths need to remain consistent with the scene file.
Wait for the model to load and review any preparation error before proceeding. If an FBX feature cannot be converted, export GLB from your authoring application and compare that version. See the format comparison and supported formats.
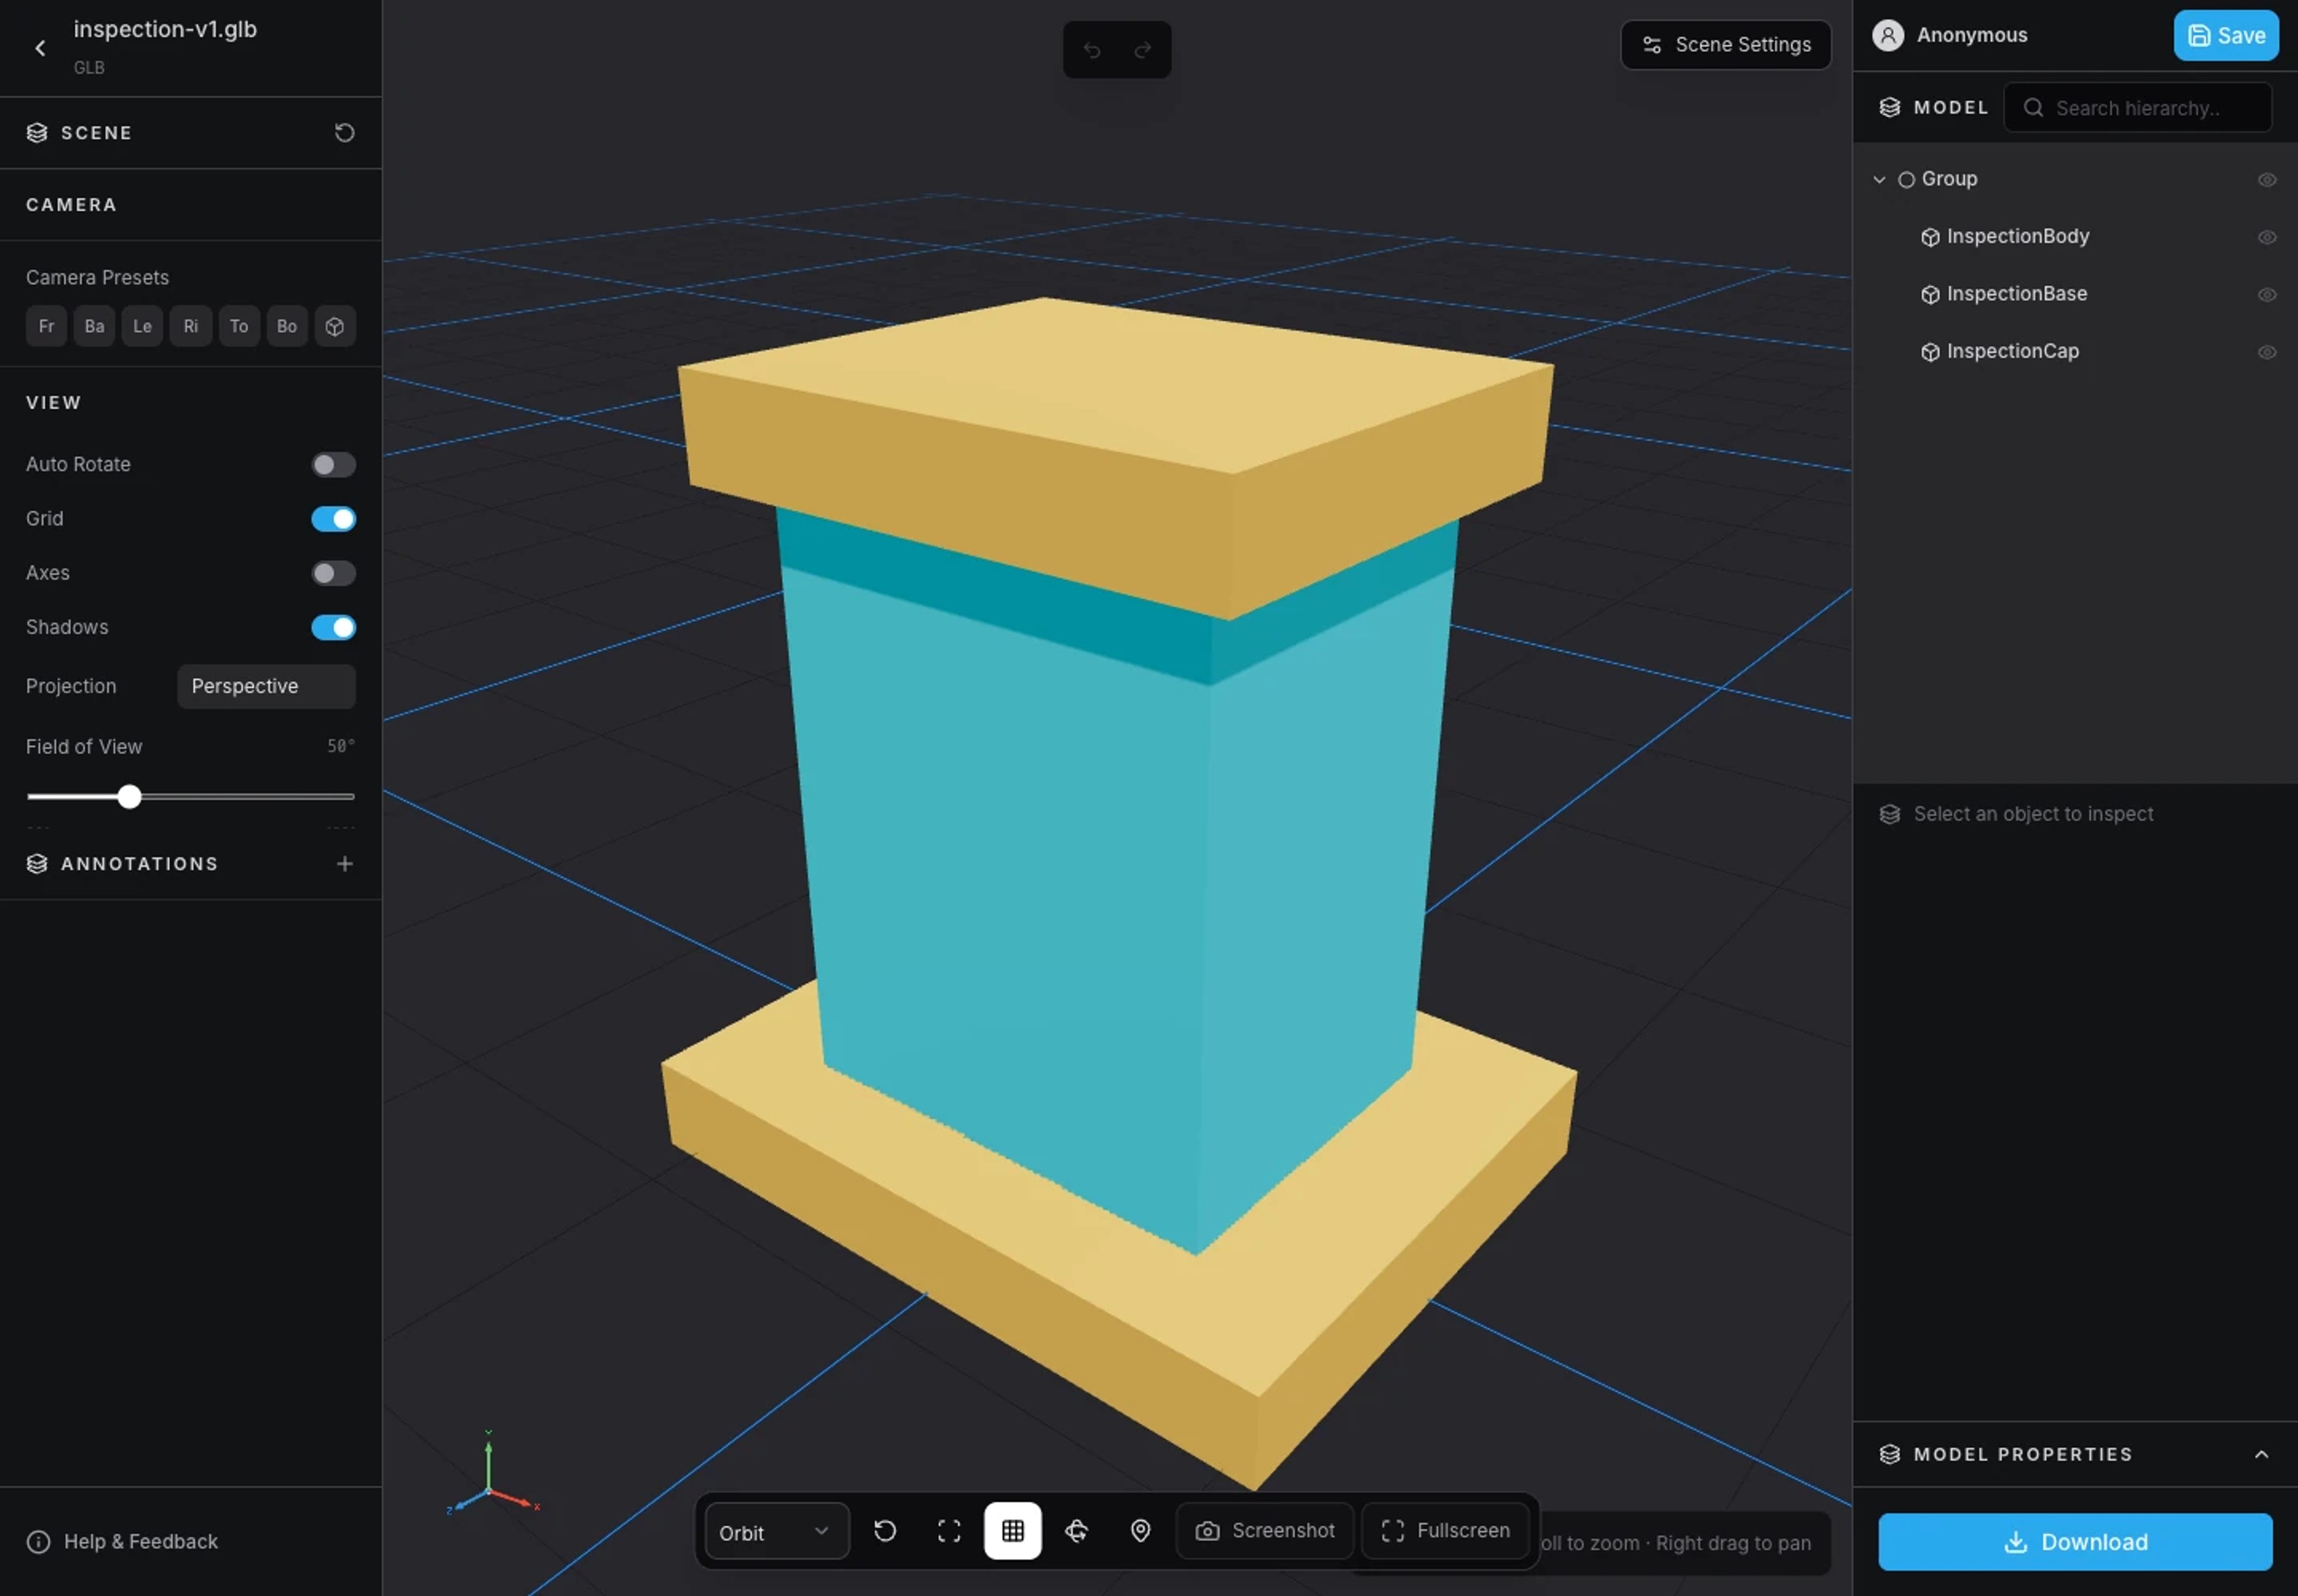
Inspect a loaded model directly in the browser. 3. Orbit, zoom, and fit the frame
Use the Orbit controls to turn around the asset, zoom toward a detail, and pan to keep it in view. Choose Fit Model from the viewport toolbar if the camera loses the model. Reset View restores the initial camera view.
For a product asset, inspect the back and underside as well as the front. A good front preview can hide an incorrect export or a missing component.
4. Inspect the hierarchy and dimensions
Use the scene hierarchy to select objects and check that the expected parts were imported. Inspect the dimensions and compare them with the source asset's intended scale and units.
If a scene appears much larger or smaller than expected, investigate the source units and export transforms. Do not infer a physical unit from a dimension number alone.
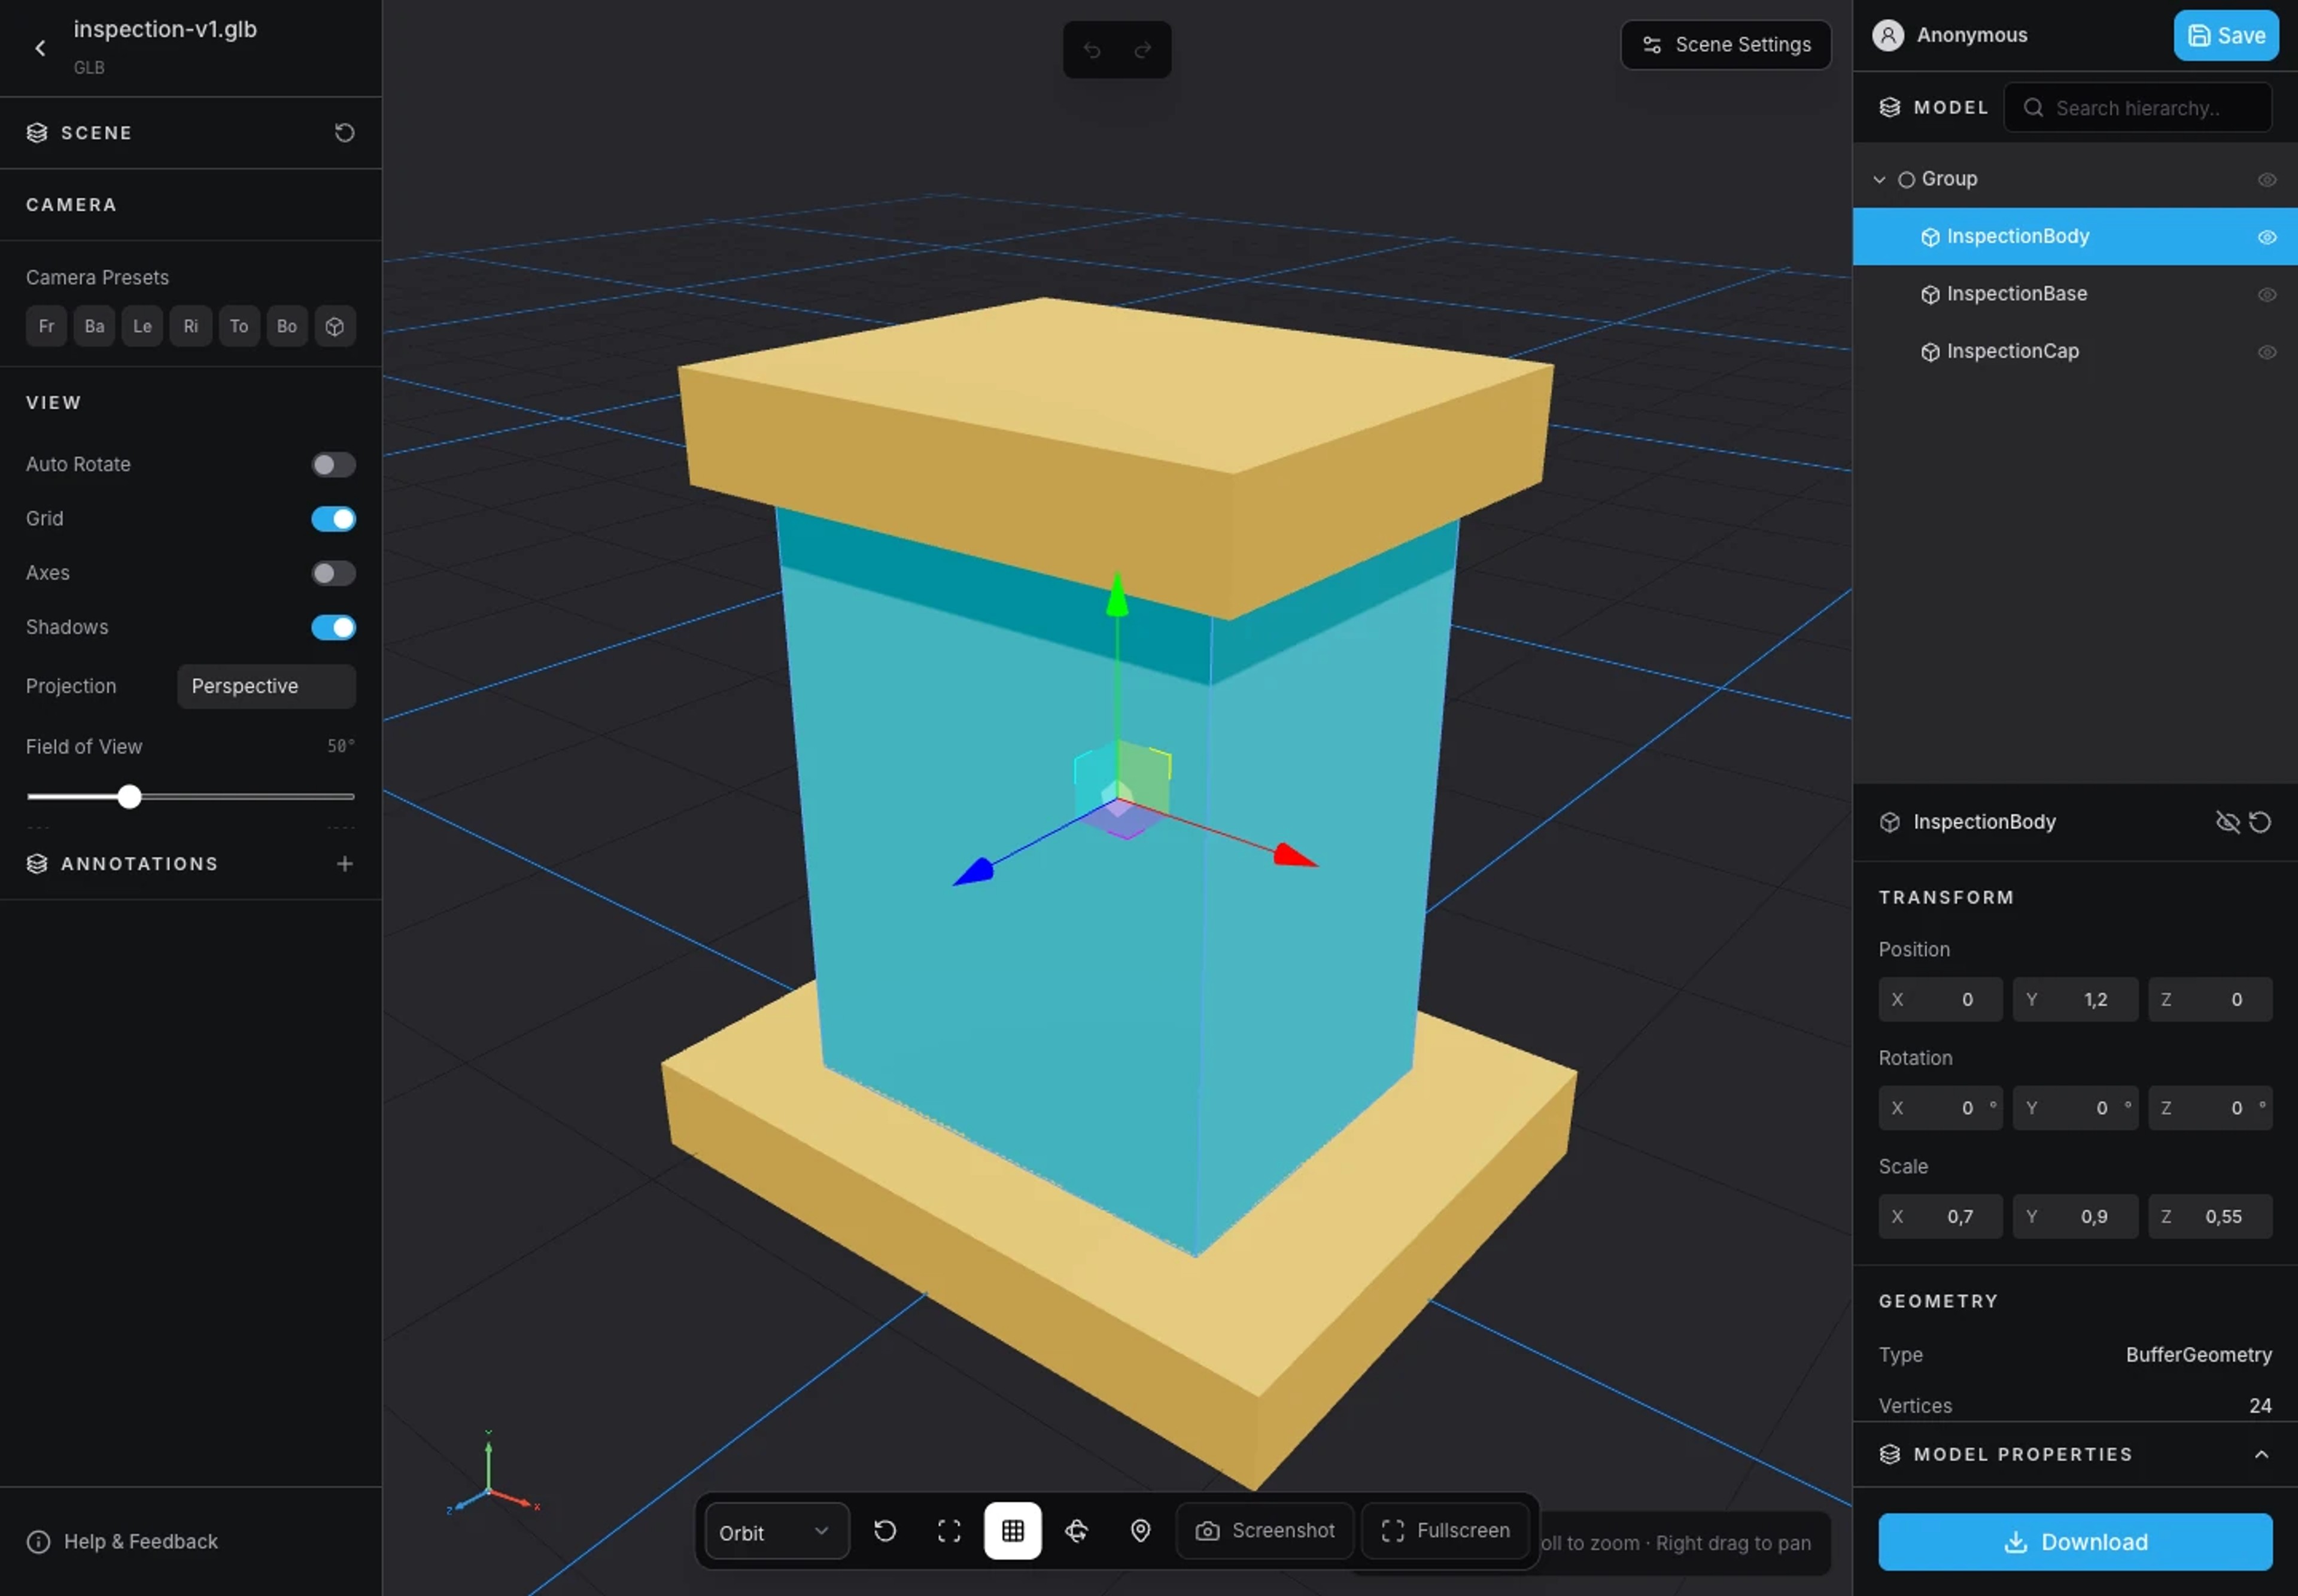
Select individual objects from the scene hierarchy. 5. Check materials, textures, and animation
Select a mesh and inspect the materials and texture maps exposed by the Viewer. Look for missing images, unintended transparency, or a surface whose shading differs from the source export.
If animation clips are present, use the animation controls to select and play them. Inspect important poses and endpoints rather than assuming that imported clip names prove correct playback. A model without imported clips has nothing to play.
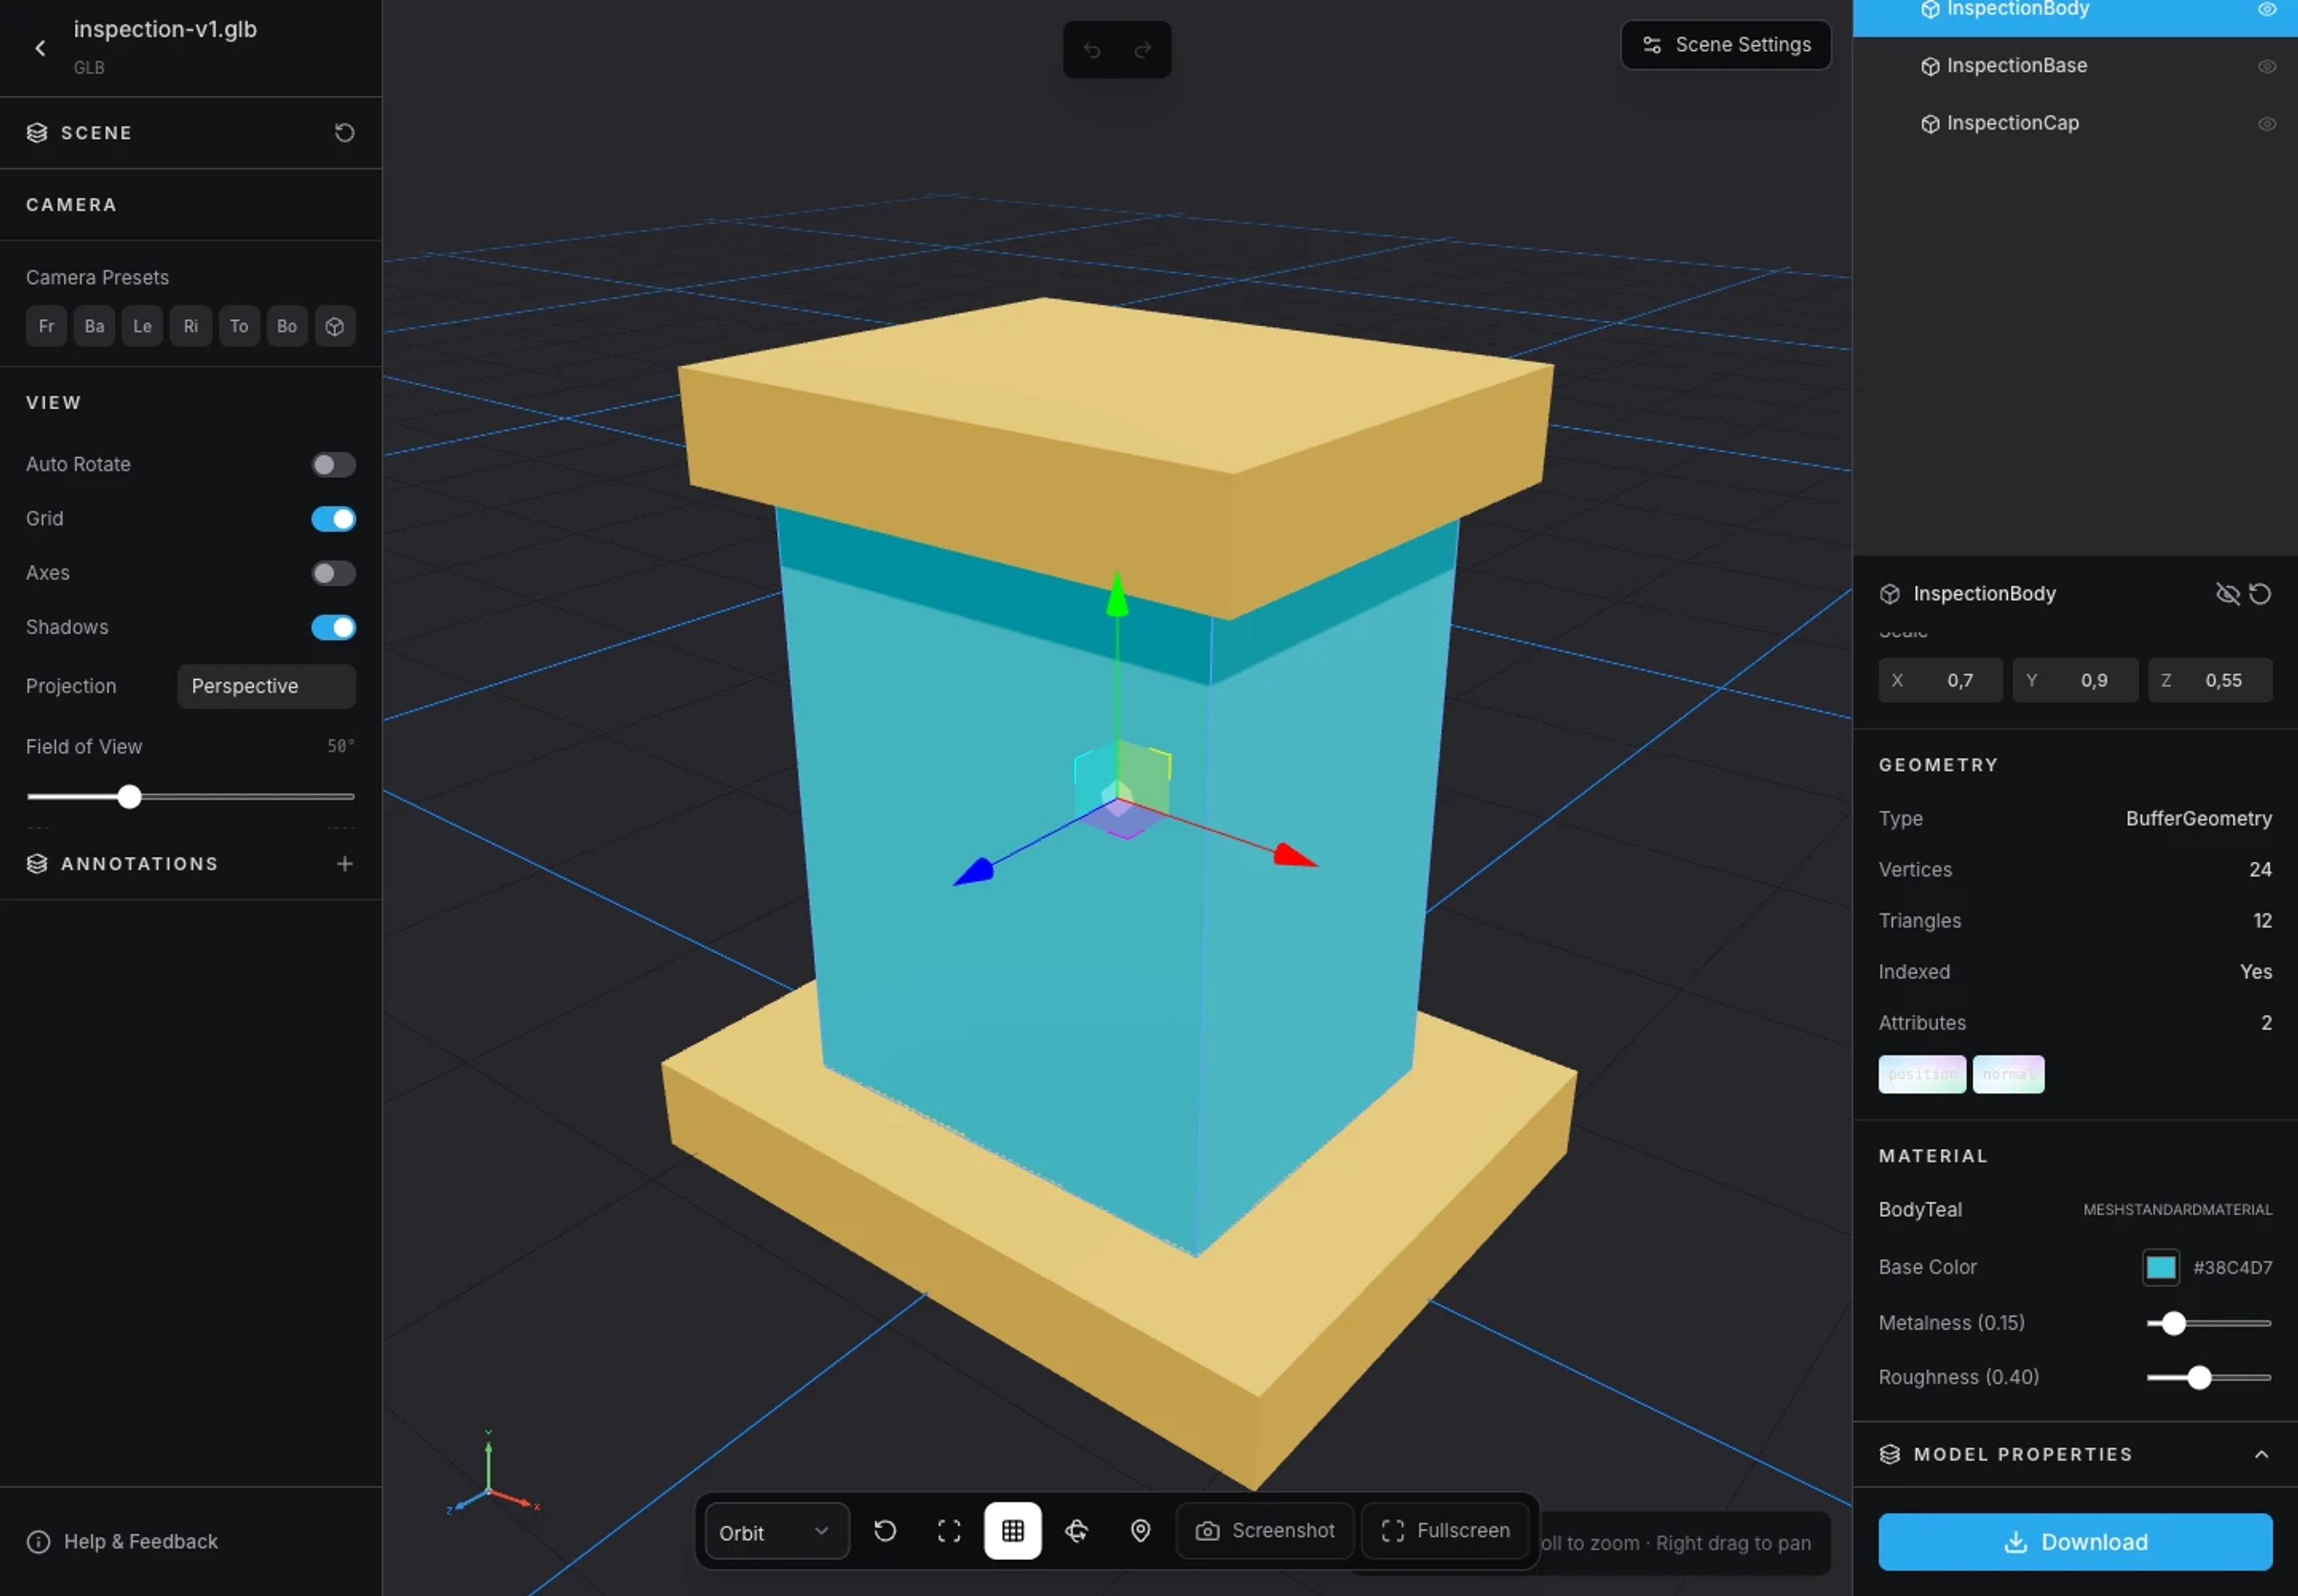
Check material properties alongside the rendered model. 6. Test presentation and choose a next step
Open Scene Settings and start with Auto – Best for this model. Try another background or quality profile only where the controls are available. Lighting and supported atmosphere or weather effects change presentation, not the source mesh or texture detail.
For an environment with usable ground, continue with First and Third Person navigation. To keep the reviewed asset, follow Upload and Save. For a geometry and resource report, use the Analyzer guide.
Explore product documentation or open the 3D Viewer.